Before refrigeration, families relied on root cellars to keep produce fresh throughout the winter. These underground storage spaces used natural insulation and stable humidity to preserve vegetables, fruits, and even canned goods for months. Today, with rising interest in self-sufficiency and sustainable living, root cellars are making a comeback. Building your own doesn’t require an engineering degree or a huge budget—just an understanding of how they work and a bit of elbow grease.
This article explores the principles behind root cellars, step-by-step building instructions, and practical tips to make one work efficiently in your backyard.
Why Build a Root Cellar?
- Natural Refrigeration – Underground temperatures stay relatively constant year-round, usually between 32°F and 50°F, which is ideal for storing many crops.
- Energy-Free Storage – Unlike freezers or fridges, a root cellar uses no electricity, reducing costs and environmental impact.
- Food Security – Storing your own harvest extends your self-reliance and reduces food waste.
- Flavor and Nutrition Preservation – Root vegetables, apples, and cabbage often taste fresher and retain more nutrients when stored in a cellar compared to long refrigeration.
Step 1: Choose the Right Location
Location is everything when it comes to building a root cellar. Look for:

- North-Facing Slope: A hill or slope facing away from direct sunlight stays cooler.
- Well-Drained Soil: Avoid low-lying areas that collect water. Excess moisture can lead to flooding or mold.
- Proximity: Choose a spot close enough to the house for easy winter access.
If you don’t have a slope, you can still dig straight down or repurpose an existing structure like a basement corner.
Step 2: Decide on the Design
There are several designs, each with pros and cons:
- Trench Cellar: A shallow pit covered with wood and soil—simple and cheap, but temporary.
- Burying a Barrel or Culvert: A watertight container sunk into the ground with a lid at the surface. Perfect for small harvests.
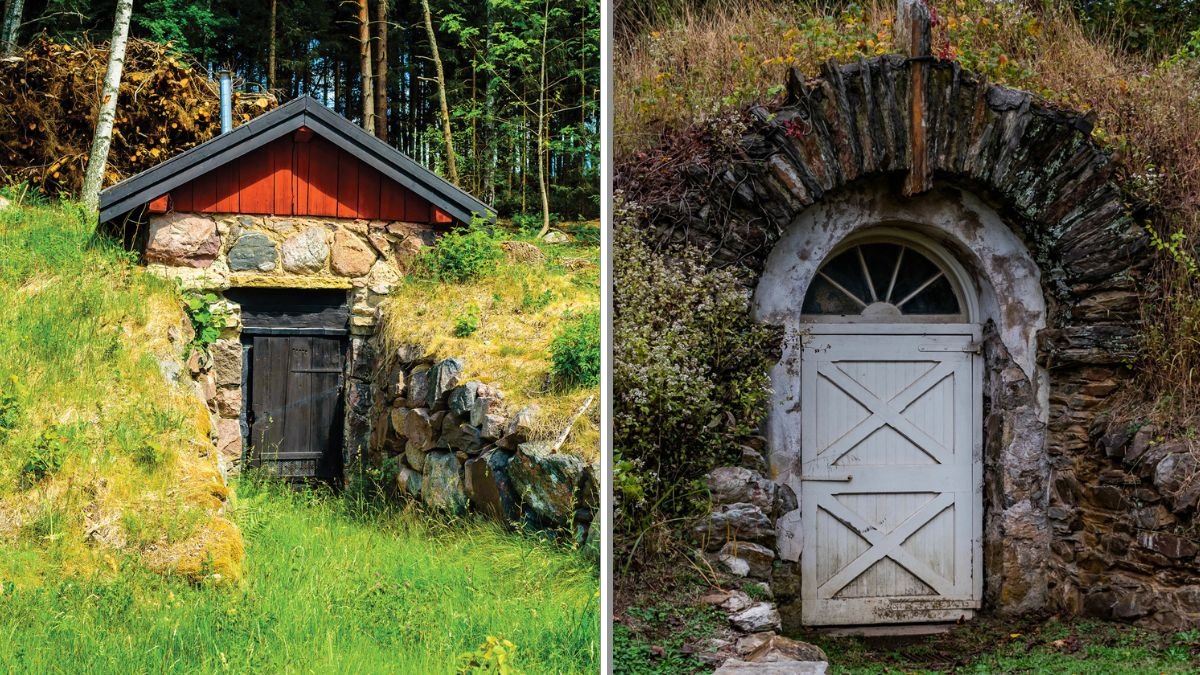
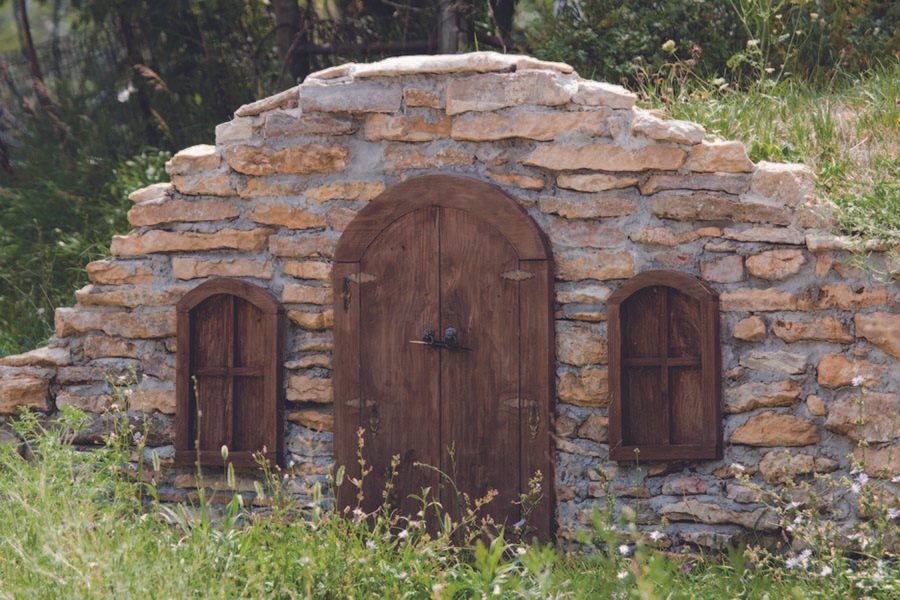
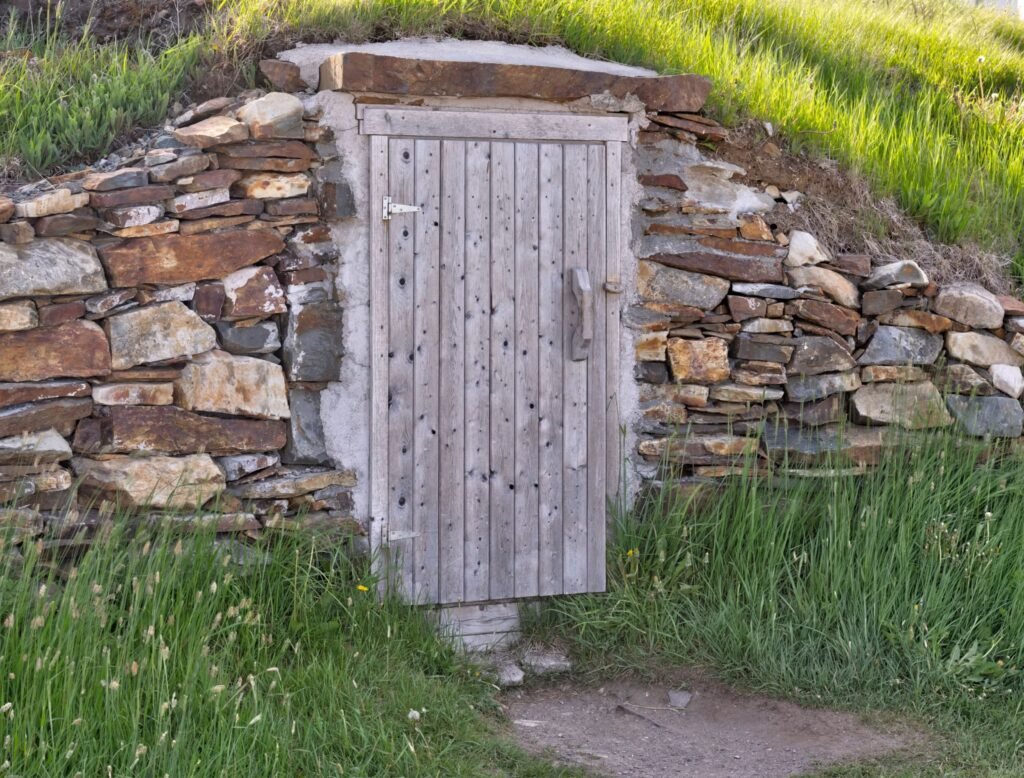
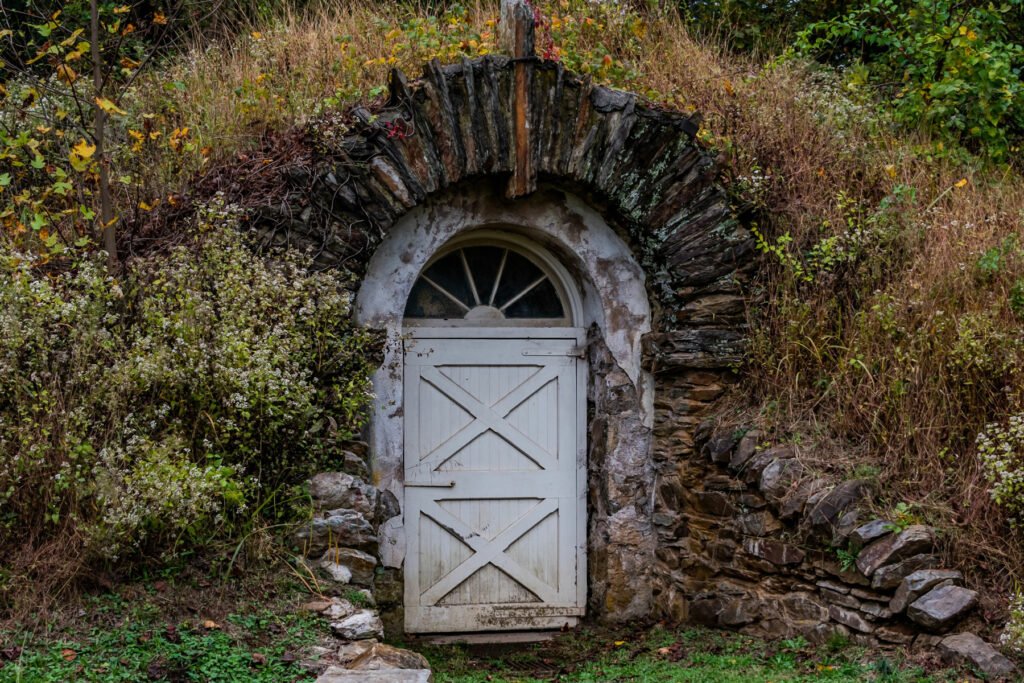
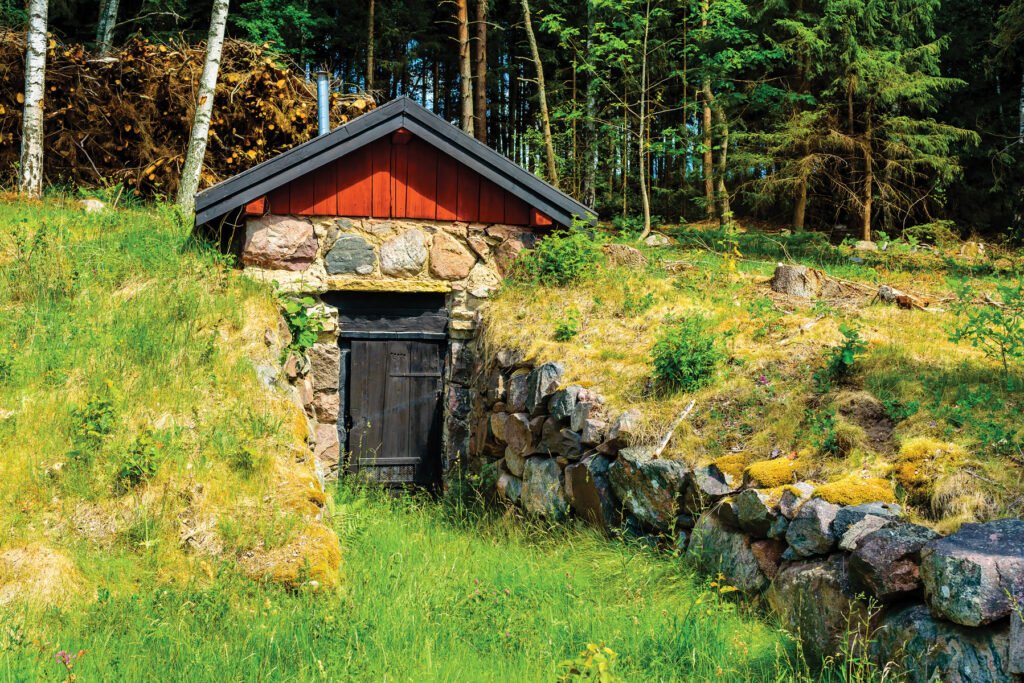
- In-Hill Cellar: Dug into a slope with reinforced walls and a door. Provides excellent insulation and easy access.
- Basement Conversion: Transforming part of an existing basement into a root cellar by controlling airflow and moisture.
For most backyard gardeners, an in-hill cellar or buried container is the most practical option.

Step 3: Excavation and Structure
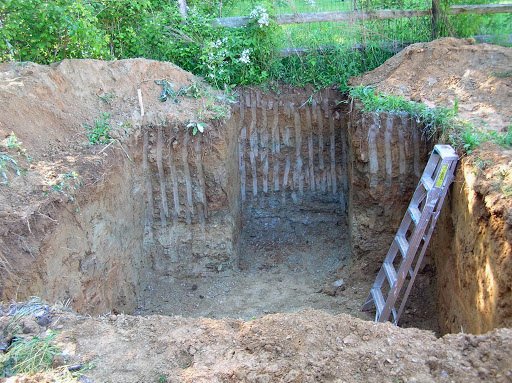
Digging the Cellar
- For a small in-hill cellar, dig a space at least 6–8 feet deep, 8–10 feet long, and 6–8 feet wide.
- Ensure walls are stable; in loose soil, reinforce with concrete, stone, or treated wood.
Flooring
- Leave the floor as natural soil or gravel. This allows moisture regulation and prevents excess condensation.
- Avoid pouring concrete floors, which can trap water and lead to humidity problems.
Walls

- Stone, cinder block, or poured concrete work best for durability.
- Add insulation (such as rigid foam board) if your climate has extreme temperature fluctuations.
Roofing
- A sturdy roof is essential for safety and insulation. Options include wood beams covered with soil, concrete slabs, or corrugated metal topped with earth.
- Slope the roof slightly to shed rainwater.
Step 4: Ventilation System
Proper airflow is crucial. Without it, gases like ethylene (released by fruits such as apples) can cause premature spoilage of nearby vegetables.
- Two Vent Pipes: One for air intake (low to the ground) and one for exhaust (higher up).
- Placement: Place intake pipes near the floor and exhaust pipes near the ceiling on opposite sides for cross-ventilation.
- Screens: Cover pipe openings with mesh to keep rodents and insects out.
Step 5: Door and Access
- Double Doors: An inner and outer door create an airlock effect, keeping temperatures stable.
- Weatherproofing: Seal gaps to prevent drafts but avoid making the cellar completely airtight.
Step 6: Humidity Control
Root crops like carrots, beets, and potatoes require 80–95% humidity to stay crisp. To maintain humidity:

- Use an earthen or gravel floor.
- Place open pans of water inside during dry spells.
- Add damp sand or sawdust to bins storing root vegetables.
- If it gets too damp, improve ventilation or add lime to absorb excess moisture.
Step 7: Organizing Storage
- Shelves: Wooden shelves are ideal for apples, cabbages, and canned goods. Avoid metal, which can rust.
- Bins: Wooden or plastic bins filled with damp sand work well for root vegetables.
- Hanging Baskets: Onions, garlic, and herbs prefer dry, airy storage and can be hung from rafters.
- Separation of Crops: Store apples separately since they release ethylene gas that speeds ripening of other produce.
What to Store in a Root Cellar
Best Crops for Root Cellars:
- Carrots, beets, parsnips, rutabagas, potatoes, turnips
- Cabbage, leeks, and celery
- Apples and pears (stored separately)
- Winter squash and pumpkins (prefer slightly drier, cooler conditions)
Not Suitable for Long Storage:
- Tomatoes, cucumbers, zucchini, and berries, which spoil quickly.
Seasonal Maintenance
- Summer: Keep the cellar shaded and ventilated to prevent overheating.
- Fall/Winter: Check for frost penetration and adjust ventilation.
- Spring: Clean thoroughly after storage season; remove spoiled produce and disinfect shelves.
Safety Considerations
- Ensure the structure is stable before entering. Collapsed walls or roofs are a hazard if improperly reinforced.
- Watch for mold growth; use natural cleaners like vinegar if necessary.
- Be cautious of rodents. Traps, mesh coverings, and regular inspection help deter pests.
Cost and Effort Estimates
- Simple Barrel Cellar: $50–$200, depending on materials.
- In-Hill Root Cellar: $500–$1,500, mostly for reinforcement, ventilation, and doors.
- Basement Conversion: Costs vary, but usually under $1,000 for insulation and ventilation.
Compared to the long-term savings on food storage and reduced energy bills, a root cellar can pay for itself within a few years.

Conclusion
Building a DIY root cellar in your backyard is more than just a nostalgic throwback—it’s a practical, sustainable way to preserve food. By harnessing the earth’s natural coolness and humidity, you can keep your harvest fresh for months without electricity. With thoughtful design, proper ventilation, and good organization, even a small cellar can transform your food storage system.
In an era of rising food costs and increasing focus on resilience, a backyard root cellar offers independence, reduces waste, and reconnects us with time-tested traditions. For gardeners and homesteaders, it may be one of the most rewarding DIY projects of all.