As the growing season winds down and temperatures begin to dip, your garden needs one final act of care before it settles into winter dormancy—mulching. Many gardeners think of mulch as a purely decorative element, but it’s actually one of the most powerful tools you can use to protect your plants, improve soil health, and ensure a strong start next spring.
However, not all mulching is created equal. Applying mulch incorrectly can invite pests, trap moisture where it’s not needed, or even suffocate plant roots. To help you do it right, here’s a complete guide on how to mulch your garden beds before winter—the proper materials, timing, and techniques that make all the difference.
Why Mulching Before Winter Matters
Mulching in late fall is like wrapping your garden in a warm, protective blanket. As the soil temperature fluctuates and frost sets in, mulch helps stabilize conditions for both plants and soil life. Here’s what it does:
- Prevents frost heaving: Repeated freezing and thawing can push plant roots upward, exposing them to cold air. Mulch keeps soil temperatures steady, reducing root damage.
- Protects perennial roots: A layer of insulation shields perennials, shrubs, and bulbs from extreme cold and desiccating winds.
- Retains soil moisture: Even in winter, dry winds can rob the soil of moisture. Mulch locks it in.
- Suppresses weeds: A thick layer of mulch prevents weed seeds from germinating when spring warmth returns.
- Enriches soil: As organic mulch breaks down, it adds nutrients and improves soil structure.
Simply put, winter mulching is about protection—not feeding growth. The goal is to safeguard the living systems in your soil until they wake up again.
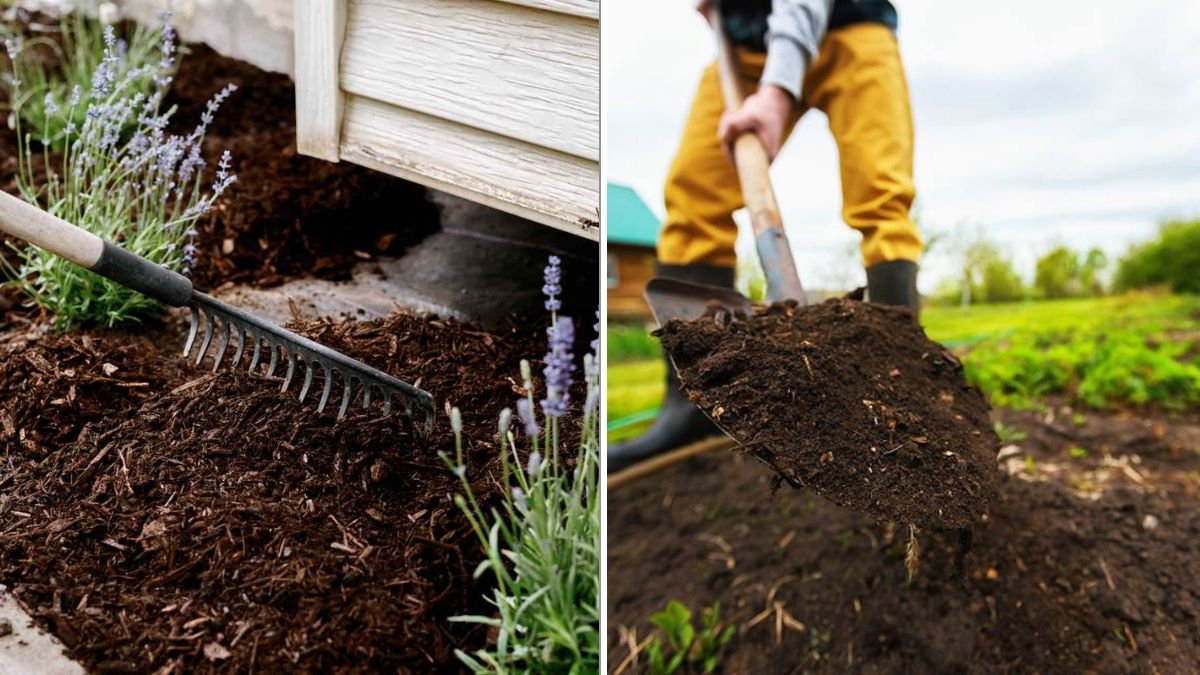
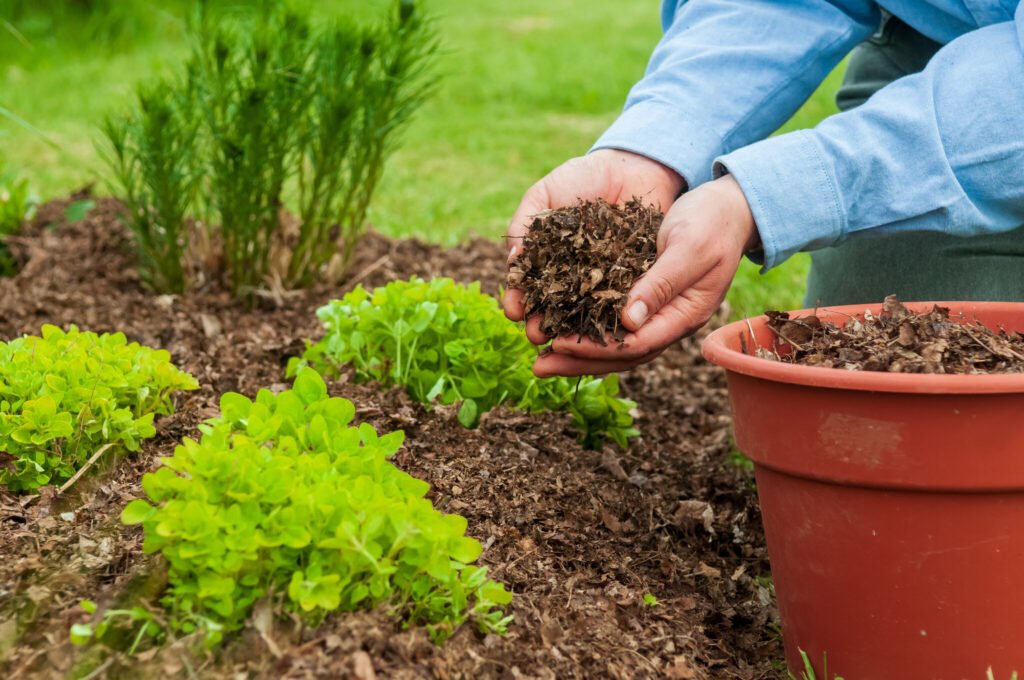
1. Choose the Right Mulch Material
Not all mulch is suitable for winter use. The best type depends on your climate, soil, and the plants you’re protecting. In general, organic mulches are ideal because they insulate while feeding the soil as they decompose.
Top choices for winter mulching:

- Shredded leaves: One of the best free mulches available. They insulate well and break down into rich organic matter.
- Pine needles: Light, airy, and excellent for acidic soil plants like azaleas, blueberries, and rhododendrons.
- Straw: Ideal for vegetable beds and newly planted perennials—lightweight and easy to spread.
- Compost: Adds nutrients while acting as a topdressing; use a thin layer beneath another mulch for best results.
- Wood chips or bark mulch: Great for established trees and shrubs but slower to decompose.
Avoid:
- Fresh grass clippings (can mat and rot)
- Synthetic mulches (don’t insulate effectively)
- Uncomposted manure (too “hot” for roots)
For tender perennials, a mix of materials—such as compost plus a loose layer of straw or leaves—offers the best protection.
2. Wait for the Right Timing
Timing is everything. If you mulch too early, you may trap warmth in the soil and encourage plants to keep growing when they should be going dormant. Too late, and frost may already have damaged roots.
The sweet spot:
Mulch after the first hard frost, when the soil has begun to cool but isn’t frozen solid. This usually happens when nighttime temperatures consistently stay around 25–30°F (-3 to -1°C).
At this stage, plants are dormant, and the mulch will help maintain stable conditions through winter without stimulating new growth.
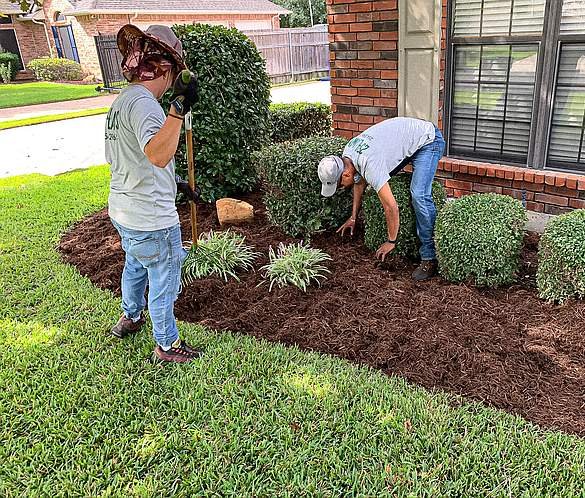
3. Prepare the Beds Properly
Before spreading any mulch, take time to clean and prep your garden beds. This step ensures your mulch will do its job effectively and won’t lock in pests or disease.

Step-by-step preparation:
- Remove debris: Pull out spent annuals, fallen leaves (unless shredded), and any diseased plant material. This prevents fungus or overwintering insects from hiding in your beds.
- Weed thoroughly: Mulch suppresses weeds—but only if you start with a clean bed.
- Water the soil: If conditions are dry, water your beds before mulching. Moist soil retains warmth better than dry soil.
- Edge your beds: Create clean boundaries with a spade or edging tool. This not only looks tidy but helps keep mulch in place.
Once your garden is clean and prepped, you’re ready to lay down mulch.
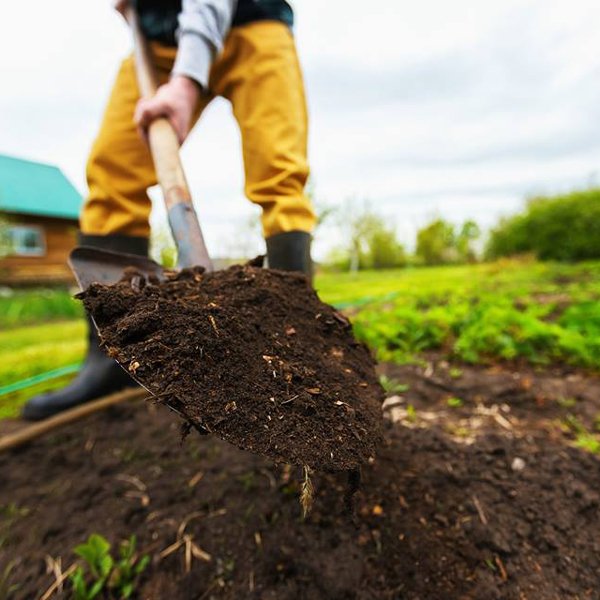
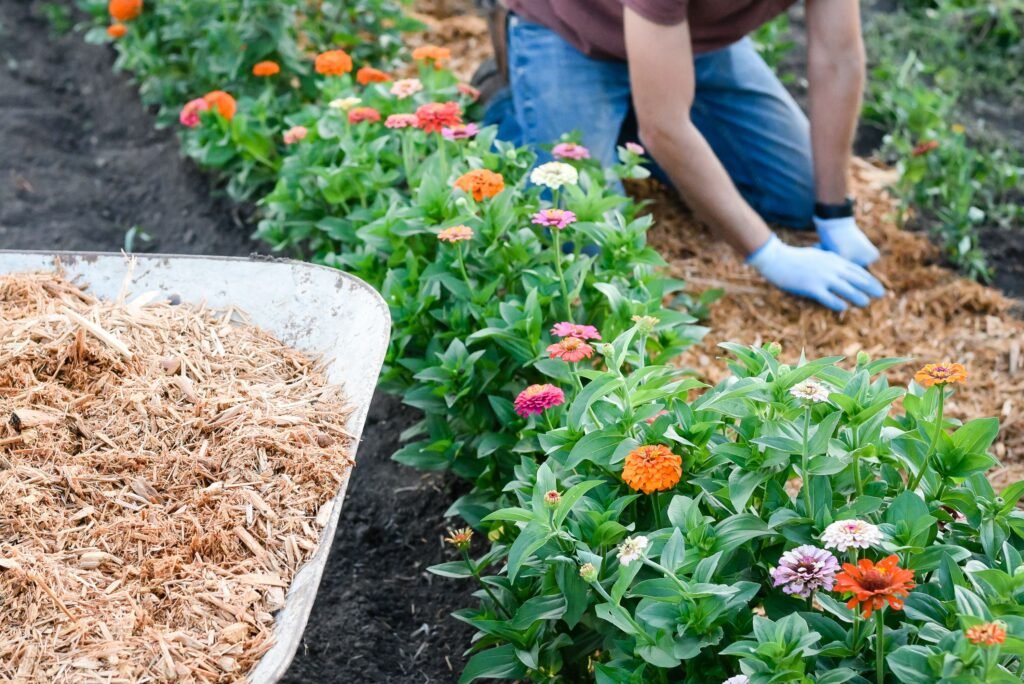
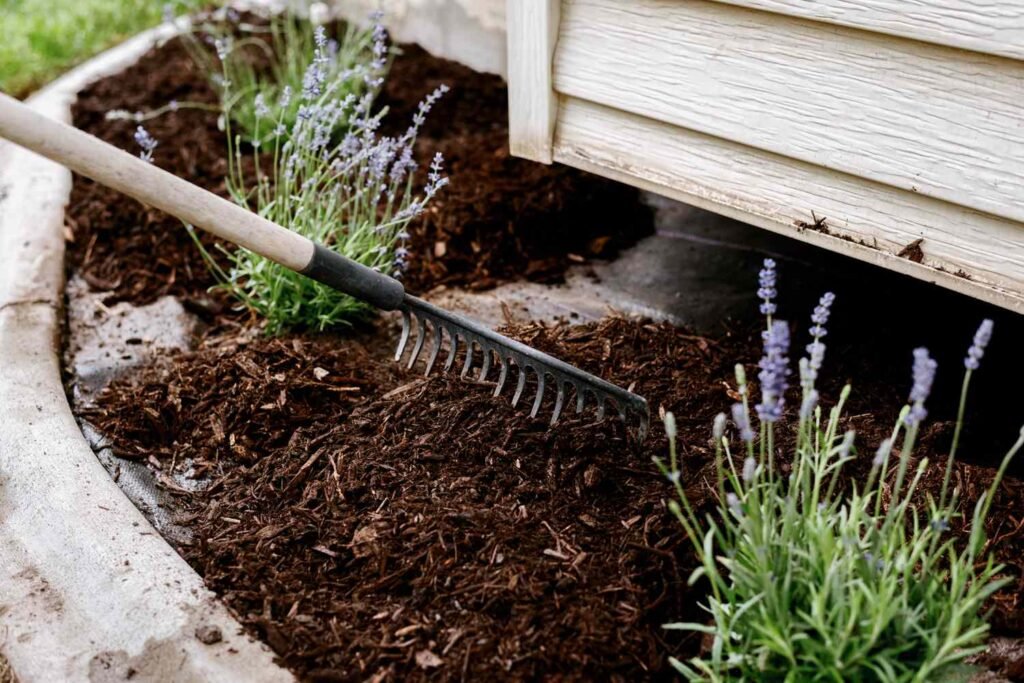
4. Apply the Right Depth
Thickness is crucial when it comes to mulching. Too thin, and it won’t insulate effectively; too thick, and it can suffocate roots or trap moisture.
- For perennials and flower beds, aim for 2 to 4 inches of mulch.
- For vegetable gardens, 3 inches is ideal—enough to protect soil without blocking early spring warming.
- Around trees and shrubs, spread mulch in a wide circle 3 to 5 inches deep, but keep it away from the trunk.
Important: Leave a 2–3 inch gap between mulch and plant stems or tree trunks. Piling mulch directly against bark (known as “volcano mulching”) can cause rot, attract rodents, and suffocate roots.
If you live in a very cold region, you can add an extra inch for insulation, but always maintain airflow around the base of your plants.
5. Anchor Your Mulch Against Wind and Snow
One common frustration is mulch blowing away during winter storms. Lightweight materials like straw or leaves can scatter easily unless you secure them.

How to keep mulch in place:
- Lightly water the mulch after spreading—it helps it settle.
- Top loose mulch with a thin layer of heavier material (like wood chips or pine needles).
- Use landscape netting or chicken wire over delicate beds to prevent displacement.
If you’re mulching on slopes, consider using shredded bark or composted mulch that clings better to the soil surface.
6. Special Care for Different Plant Types
Not every garden bed needs the same approach. Tailor your mulching technique based on what you’re protecting.
For perennials:
Wait until the ground freezes lightly, then cover crowns with 3–4 inches of mulch. In early spring, remove some of it to prevent rot as growth resumes.
For vegetables:
After harvesting, clear the beds and spread 2–3 inches of compost or aged manure, followed by straw or shredded leaves. This not only insulates but also enriches the soil over winter.
For trees and shrubs:
Spread mulch in a wide donut shape around the drip line, but never touch the trunk. For young trees, extend the mulch at least 2 feet beyond the base for maximum protection.

For bulbs:
Apply mulch after planting but wait until the first frost to add more. This helps prevent premature sprouting during winter thaws.
7. Refresh and Reuse in Spring
When spring arrives, resist the urge to remove all mulch immediately. Instead, gradually pull it back as temperatures rise and the soil begins to warm.
Old mulch can be:
- Turned into the soil to improve organic matter.
- Used again as a base layer topped with a thin coating of fresh mulch.
- Added to your compost pile to continue decomposing.
Refreshing mulch annually keeps your beds looking clean while maintaining soil health year-round.
Common Mulching Mistakes to Avoid
Even seasoned gardeners can go wrong with mulch. Watch out for these pitfalls:
- Piling mulch against plant stems or tree trunks – causes rot and pest issues.
- Using too much mulch – suffocates roots and prevents rain from reaching soil.
- Skipping bed cleanup – traps disease and pests beneath the mulch layer.
- Using dyed or treated wood chips – may contain chemicals harmful to soil microbes.
Stick to natural, untreated, organic materials whenever possible for the healthiest garden ecosystem.

Final Thoughts: Mulch Is Your Garden’s Winter Coat
Mulching before winter isn’t just a chore—it’s a gift to your garden. Done correctly, it insulates roots, conserves moisture, and sets the stage for lush growth when spring returns. Think of it as tucking your plants in for a cozy winter’s rest.
By choosing the right materials, applying the proper depth, and timing it perfectly, you’ll protect your soil and give your plants the best chance to thrive. Come spring, when snow melts and life returns to your garden, you’ll be rewarded with strong, healthy growth—all thanks to the care you took in fall.
So grab your rake, your wheelbarrow, and your mulch of choice—it’s time to give your garden beds the perfect winter blanket.