Halloween is the perfect occasion to get creative with your food. From spooky desserts to eerie appetizers, themed snacks elevate the fun and excitement of any party. Among the most popular Halloween treats are mummy-style veg spring rolls—crispy, flavorful, and visually adorable. These bite-sized snacks are perfect for parties, trick-or-treat handouts, or family gatherings.
This 7-step guide will show you how to make mummy-style veg spring rolls that are not only delicious but also fun, spooky, and visually striking.
Step 1: Gather Your Ingredients

The first step to making perfect mummy spring rolls is to have all your ingredients ready. Fresh, wholesome ingredients ensure great flavor and texture.
Ingredients for the Filling:
- Mixed vegetables – 1 cup (finely chopped or grated; carrots, cabbage, beans, bell peppers)
- Onion – 1 small, finely chopped
- Garlic – 2 cloves, minced
- Ginger – 1 teaspoon, grated
- Soy sauce – 1 tablespoon
- Salt and pepper – to taste
- Oil – 1-2 tablespoons for sautéing
Ingredients for the Rolls:
- Spring roll wrappers – 10–12 sheets (store-bought or homemade)
- Cornstarch or flour paste – 2 tablespoons (for sealing the rolls)
Optional Fun Additions:
- Cheese slices – thin strips for a gooey mummy effect
- Black olives – for eyes
- Sesame seeds – for extra crunch
Tip: Use fresh, crisp vegetables for the filling to keep the spring rolls light and crunchy.
Step 2: Prepare the Vegetable Filling
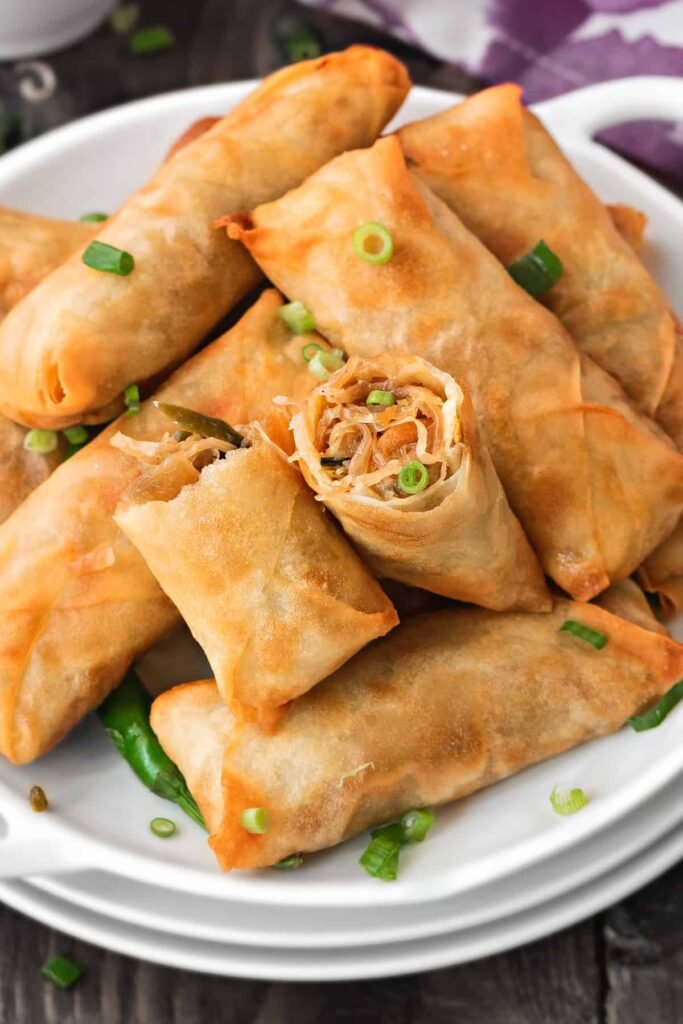
The filling is the heart of your spring rolls. A well-seasoned, flavorful mixture makes a huge difference.
- Heat 1–2 tablespoons of oil in a pan over medium heat.
- Add garlic and ginger, sautéing for a few seconds until fragrant.
- Add chopped onions and cook until translucent.
- Add the mixed vegetables and sauté for 4–5 minutes until tender but still slightly crisp.
- Season with soy sauce, salt, and pepper. Mix thoroughly.
- Remove from heat and let the filling cool to room temperature.
Pro tip: Drain excess water from vegetables before filling to prevent soggy rolls.
Step 3: Prepare the Spring Roll Wrappers

To achieve a crisp, golden exterior, proper handling of the spring roll wrappers is key.
- Separate the wrappers carefully; they are delicate and can tear easily.
- Keep them covered with a damp cloth while working to prevent drying out.
- Prepare a small bowl of cornstarch paste (cornstarch mixed with water) to use as glue for sealing the rolls.
Tip: If you want extra spooky flair, slightly brush the edges with oil before wrapping to help achieve a golden, flaky texture.
Step 4: Shape the Mummy Spring Rolls

This is where the magic happens—turning ordinary spring rolls into mummy-themed snacks.
- Place 1–2 tablespoons of filling on the lower third of the wrapper.
- Fold the sides inward and roll tightly, forming a cylindrical shape.
- Use a few thin strips of leftover wrapper to wrap over the roll in a crisscross pattern, creating a mummy’s bandages effect.
- Seal the ends with cornstarch paste.
Creative twist: Make the rolls slightly uneven or stagger the bandages for a more realistic mummy look.
Step 5: Cook the Mummy Rolls

Mummy spring rolls can be deep-fried, shallow-fried, or baked, depending on your preference.
Deep-Frying:
- Heat oil in a pan to 180°C (350°F).
- Carefully slide the rolls into the hot oil, frying until golden brown and crispy.
- Remove and drain on paper towels.
Shallow-Frying:
- Heat 2 tablespoons of oil in a pan. Fry rolls on medium heat, turning occasionally until all sides are crisp and golden.
Baking (Healthier Option):
- Preheat oven to 200°C (400°F).
- Place rolls on a baking tray lined with parchment paper.
- Brush lightly with oil and bake for 15–20 minutes, turning halfway through for even crispness.
Tip: Avoid overcrowding the pan or tray to ensure even cooking and maintain crispiness.
Step 6: Decorate Your Mummies
Now comes the fun part—adding spooky eyes and finishing touches to bring your mummy rolls to life.
- Use small pieces of black olives or black sesame seeds to create eyes. Place them on the mummy bandages.
- Optional: Use thin strips of cheese or cream cheese to enhance the “bandage” effect.
- Serve on a Halloween-themed platter with dips arranged like “spooky cauldrons” (tomato ketchup, mint chutney, or cheese sauce).
Halloween twist: For a glow-in-the-dark effect, serve with edible colored sauces or neon-colored dips.
Step 7: Serve with Fun Halloween Flair
Presentation makes these mummy rolls party-ready and fun to eat.
- Arrange mummy rolls upright or lying down on a plate.
- Garnish with fresh herbs or thin carrot strips for a “haunted graveyard” look.
- Serve with a variety of dips for added flavor and interactive eating.
- Optional: Add mini spooky props around the platter, like small pumpkins or plastic spiders, for a fully festive display.
Party hack: Let kids assemble their own mummy rolls at the party for a fun, interactive activity.
Extra Tips for Perfect Mummy Veg Spring Rolls
- Vegetable prep: Ensure vegetables are finely chopped to avoid tearing the wrapper.
- Crispiness: For extra crispiness, bake rolls at a higher temperature for the last 5 minutes.
- Make-ahead option: Prepare rolls in advance and refrigerate. Fry or bake just before serving for freshness.
- Flavor variations: Add paneer cubes, mushrooms, or corn to the filling for variety.
- Kid-friendly customization: Let children create eyes using olives or sesame seeds for a hands-on Halloween activity.
Pairing Ideas
Mummy-style veg spring rolls are versatile and pair well with:
- Dips and sauces: Sweet chili, garlic mayo, ketchup, or green avocado dip
- Spooky platters: Combine with veg cutlets, pumpkin fries, or black bean burgers
- Themed drinks: Serve with pumpkin spice milkshakes or green “witches’ potion” mocktails
- Finger food table: Perfect for Halloween parties where kids and adults can grab snacks easily
Serving tip: Use a black or orange platter to make the mummy rolls stand out and enhance the Halloween theme.
Conclusion
Mummy-style veg spring rolls are a fun, creative, and delicious addition to any Halloween celebration. With seven simple steps—gathering ingredients, preparing the filling, prepping wrappers, shaping, cooking, decorating, and serving with flair—you can create a spooky snack that delights kids and adults alike.
Crispy on the outside, flavorful on the inside, and topped with playful “eyes,” these mummy rolls are perfect for parties, trick-or-treat snacks, or family gatherings. With a little creativity and preparation, your Halloween table can be both spooky and delicious, leaving a lasting impression on all your guests.
This Halloween, skip the ordinary snacks and bring mummy-themed magic to your kitchen with these irresistible veg spring rolls. They’re sure to become a favorite festive treat year after year!
