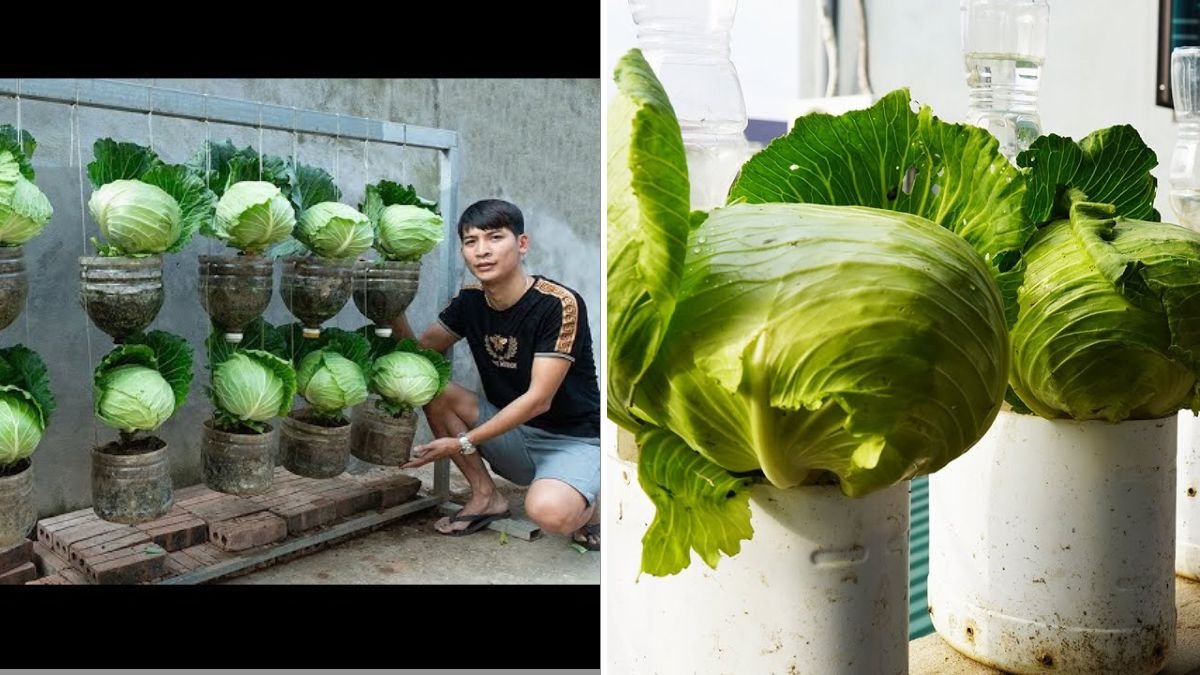
Imagine turning kitchen waste into fresh, nutritious leafy greens without spending a dime on seeds or soil. It’s not just a dream – it’s a reality! The YouTube video “How to harvest a lot leafy greens from vegetable scraps in plastic bottles” demonstrates a simple, eco-friendly, and highly productive method to regrow leafy vegetables from scraps using recycled plastic bottles.
This method is perfect for urban gardeners, small-space growers, and sustainability enthusiasts, allowing you to harvest fresh greens continuously without needing a traditional garden. This blog post will guide you step-by-step, from selecting vegetable scraps to harvesting lush, healthy leaves.
Why Grow Leafy Greens from Scraps
Growing leafy greens from kitchen scraps has multiple benefits:
Cost-effective: Turn leftover vegetable scraps into endless fresh greens.
Eco-friendly: Reduce food waste and reuse plastic bottles.
Space-saving: Ideal for terraces, balconies, or kitchen windowsills.
Continuous harvest: Leaves regrow quickly for repeated harvesting.
Nutritious and fresh: Enjoy chemical-free, vitamin-rich greens.
Even small-space gardeners can achieve year-round supply of fresh greens with this method.
Step 1: Choosing Vegetable Scraps
Not all vegetables can regrow easily, so selecting the right scraps is crucial:
Best scraps for regrowing leafy greens:
- Lettuce and romaine: Take the bottom 2–3 inches of the head.
- Bok choy and pak choi: Use the root end.
- Celery: Regrow from the base.
- Green onions and spring onions: Use the white root ends.
Tips:

- Choose scraps that are healthy and free from rot.
- Avoid damaged, moldy, or wilted scraps, as they may not regrow successfully.
Healthy scraps guarantee fast, vigorous growth.
Step 2: Preparing Plastic Bottles
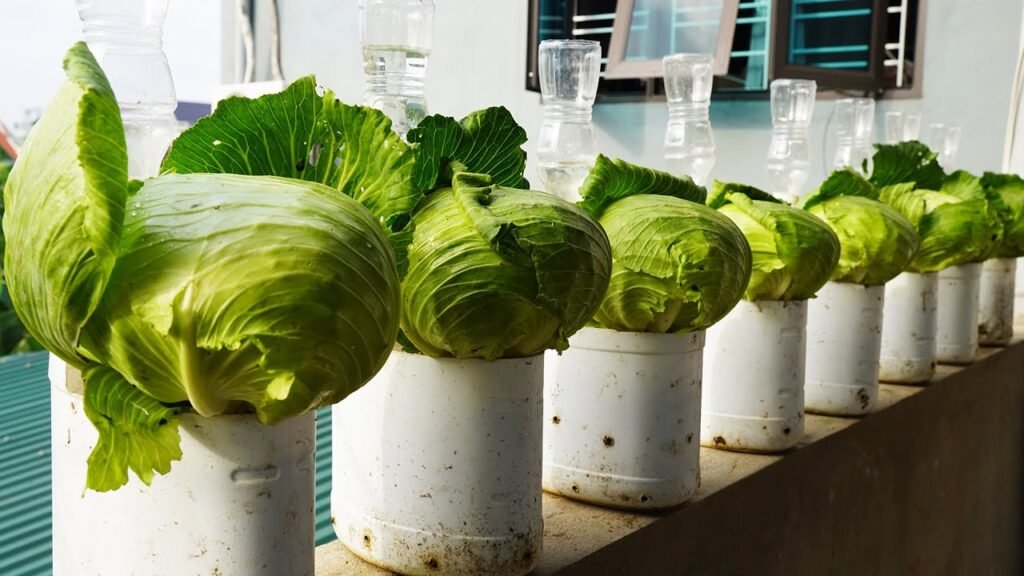
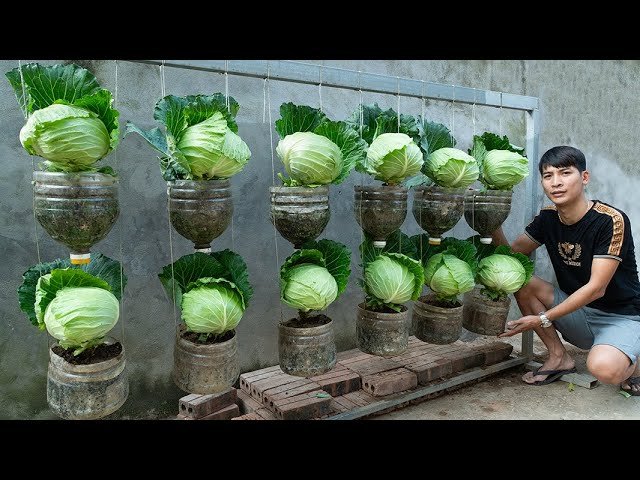
Plastic bottles serve as mini-planters that save space and allow for easy water management:
Steps:
- Use clean, empty plastic bottles (1–2 liters recommended).
- Cut the bottle horizontally or leave the top open for planting.
- Drill small drainage holes at the bottom to prevent waterlogging.
- Rinse thoroughly to remove any residue.
Plastic bottles are lightweight, reusable, and easy to manage, making them perfect for indoor or balcony gardening.
Step 3: Preparing the Vegetable Scraps
Preparing scraps correctly ensures fast regrowth:
Steps:
- Trim damaged or dry leaves, leaving only the healthy base.
- Place the base in a small container with water, ensuring roots or base ends are submerged.
- Change water every 1–2 days to prevent stagnation.
- Place the container in bright, indirect sunlight.
Within a few days, you’ll notice new roots and leaves emerging, signaling readiness for planting in soil.
Step 4: Preparing the Soil
While water propagation works temporarily, planting in soil leads to stronger, healthier greens:

Recommended soil mix:
- 50% garden or potting soil
- 30% compost or organic manure
- 20% sand or perlite for drainage
Tips:
- Soil should be light, loose, and nutrient-rich to support rapid growth.
- Avoid compacted soil, which limits root development.
- Adding compost boosts continuous nutrient supply for repeated harvesting.
Well-prepared soil promotes lush, leafy growth and long-lasting plants.
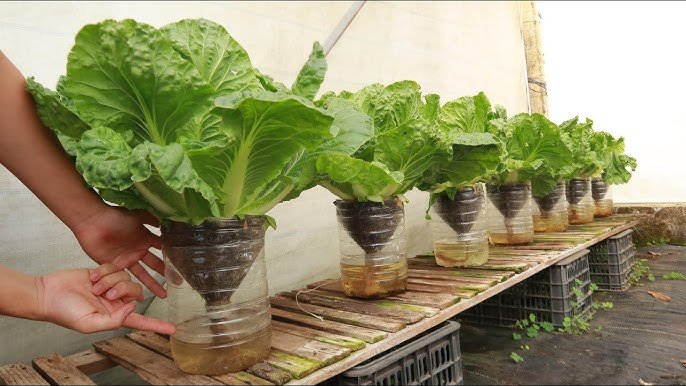
Step 5: Planting Scraps in Plastic Bottles
Planting correctly ensures strong regrowth and continuous harvest:
Steps:
- Fill the bottle 2/3 with prepared soil.
- Make a small hole for the vegetable scrap base.
- Insert the base and gently cover with soil, leaving leaves exposed.
- Water lightly to settle the soil.
Spacing tips:
- If planting multiple scraps, space at least 4–6 inches apart.
- Overcrowding reduces sunlight and airflow, leading to slower growth.
Step 6: Sunlight and Temperature Requirements
Leafy greens thrive in moderate sunlight and warm conditions:
- Ideal temperature: 18–25°C (65–77°F)
- Place bottles in bright, indirect sunlight for 4–6 hours daily
- Avoid direct scorching sunlight, which can damage delicate leaves
Proper light ensures fast leaf growth and strong stems.

Step 7: Watering Leafy Greens
Leafy greens require consistent moisture for rapid growth:
- Keep soil evenly moist, not waterlogged.
- Water every 2–3 days depending on weather and container size.
- Use a spray bottle for gentle watering of delicate leaves.
Pro Tip: Using transparent bottles lets you monitor root growth and soil moisture easily.
Step 8: Fertilization for Rapid Leaf Growth
Leafy greens grow fast and benefit from regular feeding:
- Use liquid organic fertilizers every 2–3 weeks.
- Vermicompost tea or diluted compost liquid boosts leaf production.
- Avoid chemical fertilizers to maintain edible, chemical-free leaves.
Balanced nutrients result in lush, tender, and flavorful greens.
Step 9: Supporting the Plants
Though leafy greens are small, some may need support for proper growth:
- Keep the plants upright by gently adjusting leaves if necessary.
- Trim crowded leaves to promote airflow and sunlight penetration.
Proper care ensures continuous regrowth and healthy leaves.
Step 10: Pest and Disease Management
Vegetable scraps can attract pests like aphids or fungal infections:
Organic solutions:

- Spray neem oil or mild garlic solution for pests.
- Remove yellow or damaged leaves promptly.
- Ensure proper air circulation around bottles to prevent mold.
Healthy plants regrow vigorously and produce high-quality leaves.
Step 11: Harvesting Leafy Greens
Leafy greens regrow quickly, allowing frequent harvesting:
- Use scissors to trim just above the base, leaving some leaves for regrowth.
- Harvest every 7–10 days for continuous supply.
- Regular trimming encourages bushy growth and more leaves.
Pro Tip: Avoid removing more than 1/3 of the plant at once to prevent stress.
Step 12: Advantages of Growing Leafy Greens from Scraps
Cost-effective: Regrow vegetables for free from kitchen scraps.
Space-saving: Perfect for small apartments, terraces, or windowsills.
Eco-friendly: Reduce food waste and reuse plastic bottles.
Continuous harvest: Leaves regrow quickly for repeated harvests.
Nutritious: Enjoy fresh, chemical-free greens.
Even beginners can achieve year-round harvest of leafy greens using this method.
Step 13: Culinary and Health Benefits
Leafy greens grown from scraps are fresh, flavorful, and nutrient-rich:
Use in soups, stir-fries, and salads
Add to sandwiches and wraps for crunch
Blend into smoothies or juices for vitamins
Garnish dishes for aroma and nutrition
Health benefits:

- Rich in fiber, vitamins, and antioxidants
- Supports digestion and immunity
- Low in calories and aids weight management
- Promotes heart health and overall wellness
Fresh homegrown greens are far healthier and tastier than store-bought options.
Step 14: Tips for Maximum Success
- Choose healthy, fresh vegetable scraps for regrowth.
- Use loose, nutrient-rich soil in bottles.
- Provide 4–6 hours of indirect sunlight daily.
- Water consistently but avoid overwatering.
- Fertilize every 2–3 weeks with organic nutrients.
- Harvest regularly to encourage continuous regrowth.
- Monitor for pests and remove damaged leaves promptly.
Following these tips ensures lush, healthy, and abundant leafy greens from your kitchen scraps.
Conclusion: Harvest Abundant Leafy Greens from Vegetable Scraps
The YouTube video “How to harvest a lot leafy greens from vegetable scraps in plastic bottles” demonstrates a simple, eco-friendly way to grow fresh greens at home.
By selecting the right scraps, preparing plastic bottles, using nutrient-rich soil, watering consistently, and harvesting regularly, anyone can enjoy endless leafy greens without spending money on seeds or store-bought vegetables.
Start today and turn your kitchen waste into a thriving mini-garden!