Sweet potatoes are not only delicious but also highly nutritious, rich in fiber, vitamins, and antioxidants. They are a staple in many cuisines, from roasting and baking to adding sweetness to soups and desserts. But have you ever wondered how to grow extra-large sweet potatoes at home?
The YouTube video “When I planted sweet potatoes that sprouted, extra-large sweet potatoes grew” reveals a simple yet effective method to achieve big, healthy sweet potatoes right in your garden or containers. This guide will show you step-by-step how to plant sprouted sweet potatoes, care for them properly, and harvest impressive tubers.
Why Grow Sweet Potatoes at Home
Growing sweet potatoes at home offers multiple benefits:
Fresh and chemical-free: You control what goes into the soil.
Cost-effective: One plant can produce multiple large tubers.
Space-saving: Perfect for home gardens, terrace gardens, and containers.
Nutritious and versatile: High in fiber, antioxidants, and vitamins.
Fun and rewarding: Watching sweet potatoes grow from sprouted slips is a satisfying gardening experience.
Even beginners can grow large, healthy sweet potatoes with the right care and techniques.
Step 1: Choosing the Right Sweet Potatoes
The first step is selecting healthy sweet potatoes that are likely to produce large tubers:
Tips for selecting sweet potatoes:
- Choose firm, healthy sweet potatoes with no soft spots or mold.
- Look for tubers that have sprouts or eyes, as these will form slips for planting.
- Organic sweet potatoes are preferred for chemical-free propagation.
Healthy, sprouted sweet potatoes are the key to producing extra-large tubers.

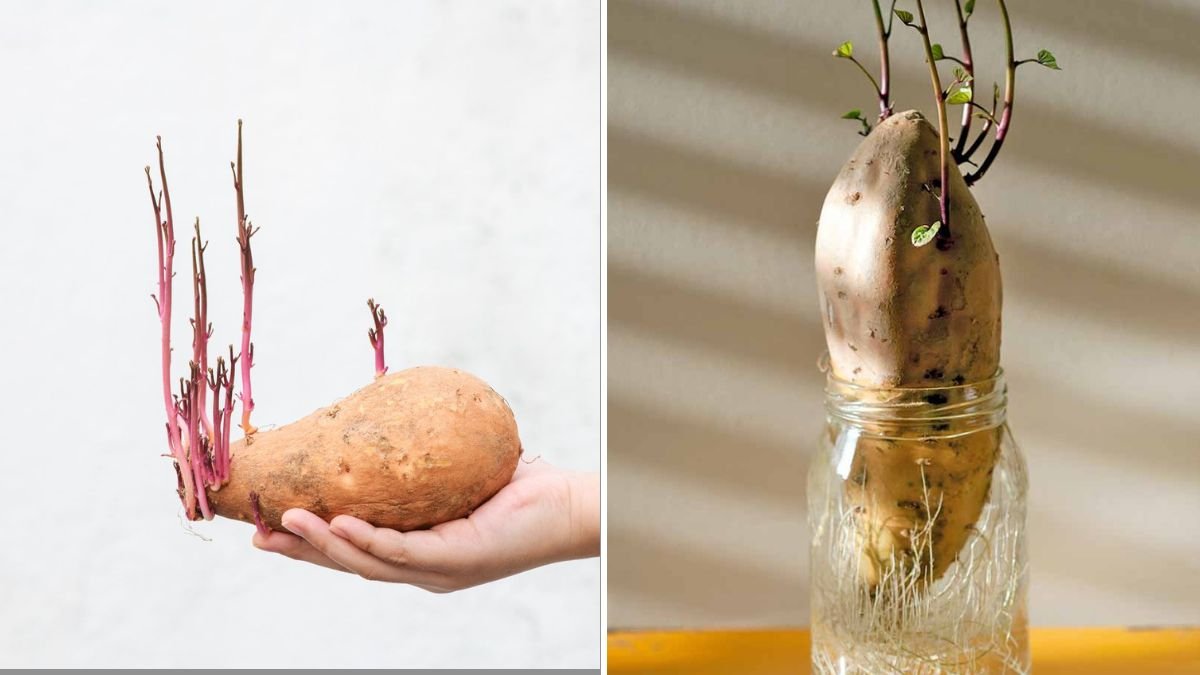
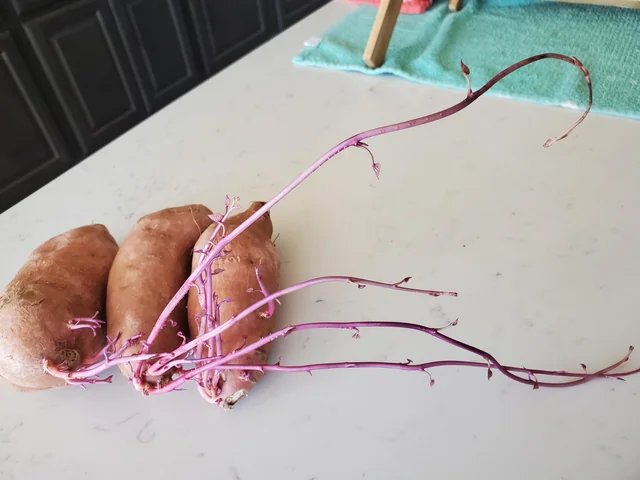
Step 2: Preparing Sweet Potato Slips
Sweet potatoes grow from slips, which are sprouts that develop from the tuber:
Steps to prepare slips:
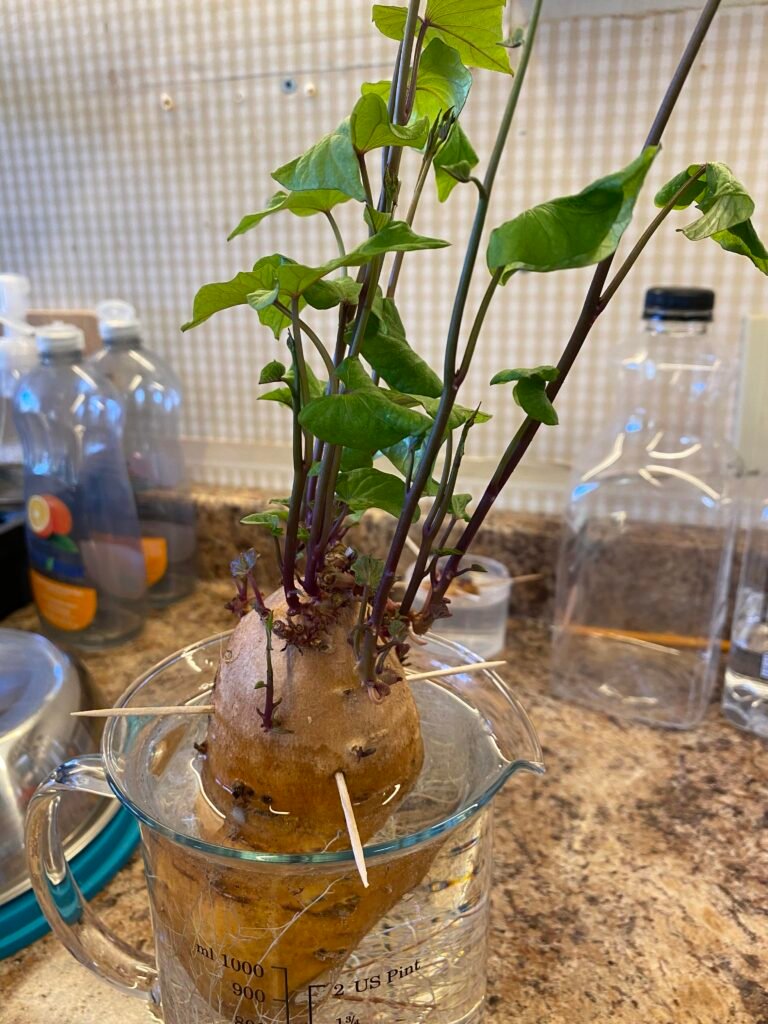
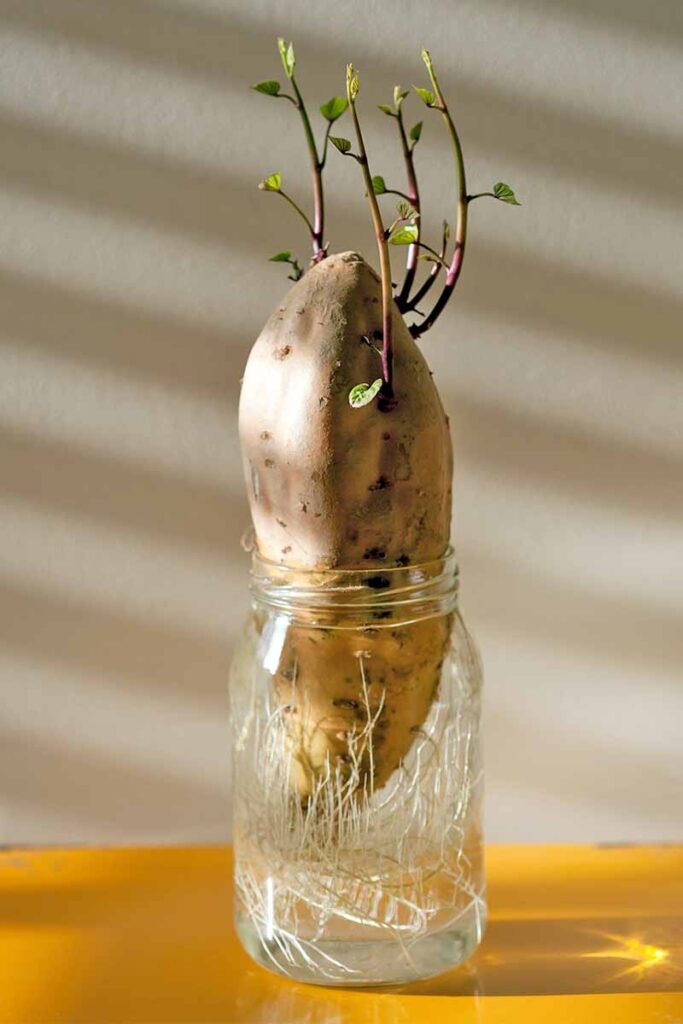
- Place the sprouted sweet potato in water or soil with the sprout facing up.
- Keep the container in a warm, sunny location.
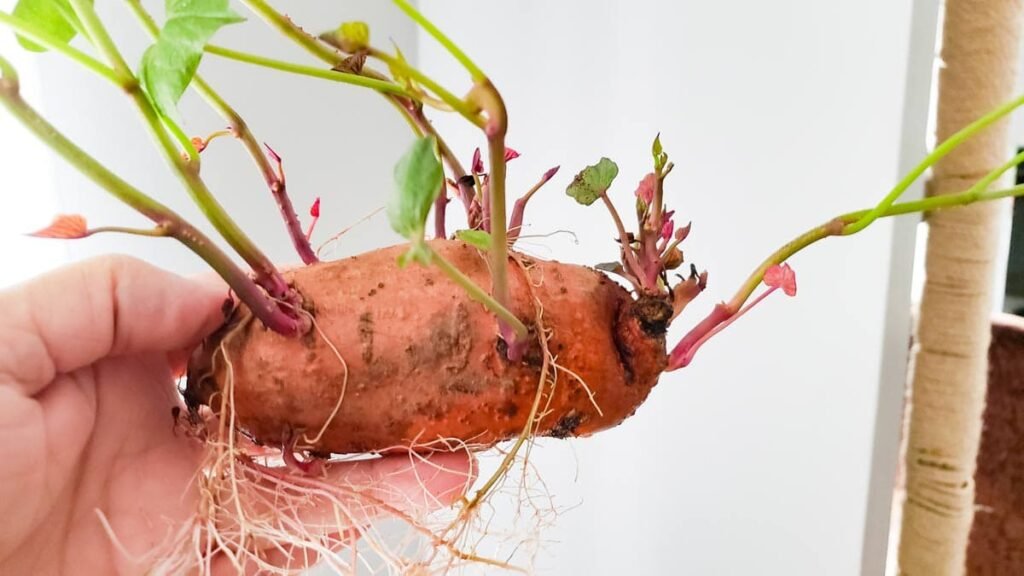
- Within 1–3 weeks, the sprout develops roots and new leaves.
- Once slips are 6–8 inches long, they are ready for planting.
Pro Tip: Using sprouted sweet potatoes ensures strong, fast-growing plants.
Step 3: Preparing the Soil
Sweet potatoes thrive in loose, well-draining, fertile soil:
Recommended soil mix:
- 50% garden or sandy soil
- 30% compost or organic manure
- 20% sand or perlite for drainage
Tips:
- Avoid compacted or heavy clay soil, which restricts tuber growth.
- Incorporate compost or organic fertilizer to encourage large tuber formation.
- Loosely mounded soil helps tubers expand underground.
Proper soil preparation is essential for producing extra-large sweet potatoes.
Step 4: Planting Sweet Potato Slips
Planting slips correctly ensures strong plants and big tubers:

Steps:
- Dig holes about 3–4 inches deep.
- Place each slip in a hole and cover with soil, leaving leaves exposed.
- Space plants 12–18 inches apart to allow tubers to grow large.
- Water lightly after planting.
Pro Tip: Using sprouted slips rather than direct tubers promotes faster growth and larger harvests.
Step 5: Sunlight and Temperature Requirements
Sweet potatoes are a warm-season crop that loves sunlight:
- Ideal temperature: 24–32°C (75–90°F)
- Full sun exposure for at least 6–8 hours daily
- Protect young plants from frost or excessive heat
Ample sunlight ensures fast vine growth and energy for tuber development.
Step 6: Watering Sweet Potatoes
Watering is crucial for healthy tuber growth:
- Keep soil evenly moist, especially during root formation.
- Avoid overwatering, which can cause rot and disease.
- Reduce watering 2–3 weeks before harvest to enhance sweetness.
Pro Tip: Drip irrigation or self-watering containers ensure consistent moisture without waterlogging.
Step 7: Fertilization for Extra-Large Tubers
Nutrient management is key to producing large, healthy sweet potatoes:
- Early stage: Nitrogen-rich fertilizer for vine and leaf growth.
- Tuber formation stage: Apply phosphorus and potassium for strong, big tubers.
- Organic options: Vermicompost, compost tea, and bone meal.
Balanced nutrients support fast vine growth and large, sweet tubers.

Step 8: Mulching and Soil Care
Mulching improves growth and protects tubers:
- Use straw, dry leaves, or grass clippings around plants.
- Mulch retains soil moisture, suppresses weeds, and keeps soil temperature stable.
- Loosen soil gently around vines to allow tubers to expand.
Proper care ensures extra-large sweet potatoes develop without restriction.
Step 9: Supporting Vines
Sweet potato vines spread quickly:
- Provide trellises or space on the ground for vines to grow freely.
- Regularly check for overcrowding to maintain air circulation and reduce disease.
- Trim excessive vines if needed, focusing energy on tuber development.
Healthy vines lead to bigger tubers underground.
Step 10: Pest and Disease Management
Sweet potatoes are relatively hardy but may face:
- Sweet potato weevils or beetles
- Fungal infections in humid conditions
- Root rot from overwatering
Organic management tips:
- Spray neem oil or mild garlic solution for pests.
- Remove damaged leaves promptly.
- Ensure proper spacing and avoid waterlogged soil.
Healthy plants produce fast-growing vines and large, healthy tubers.
Step 11: Harvesting Sweet Potatoes
Harvest time depends on planting and variety:

- Typically 90–120 days after planting.
- Leaves begin to yellow, indicating maturity.
- Use a fork to gently lift tubers, being careful not to damage them.
- Cure tubers in a warm, dry area for 7–10 days for enhanced sweetness.
Proper harvesting ensures extra-large, sweet, and firm potatoes.
Step 12: Advantages of Growing Extra-Large Sweet Potatoes
High yield: Larger tubers mean more food per plant.
Cost-effective: One plant produces multiple tubers.
Space-efficient: Vine growth can be managed in small gardens or containers.
Nutritious: Homegrown sweet potatoes are rich in fiber, vitamins, and antioxidants.
Sustainable: Reuse sprouted sweet potatoes to multiply crops.
Even small-space gardeners can enjoy impressive sweet potato harvests using this method.
Step 13: Culinary and Health Benefits

Sweet potatoes are delicious and nutritious:
Roast, bake, or boil as a side dish
Add to salads, stews, and soups
Make sweet potato fries or purees
Use in desserts like pies and puddings
Health benefits:
- High in fiber for digestion
- Rich in antioxidants and vitamin A
- Supports heart health and immunity
- Low glycemic index for balanced energy
Homegrown sweet potatoes are tastier and more nutritious than store-bought tubers.
Step 14: Tips for Maximum Success
- Use sprouted sweet potatoes to ensure strong, fast-growing plants.
- Prepare nutrient-rich, well-draining soil for tuber expansion.
- Provide full sun and consistent watering.
- Fertilize during vine growth and tuber formation stages.
- Mulch and loosen soil for unrestricted tuber growth.
- Harvest carefully to avoid tuber damage.
Following these tips ensures extra-large, healthy sweet potatoes every season.

Conclusion: Grow Extra-Large Sweet Potatoes with Sprouted Slips
The YouTube video “When I planted sweet potatoes that sprouted, extra-large sweet potatoes grew” shows that with the right methods and care, anyone can grow big, healthy sweet potatoes at home.
By using sprouted sweet potatoes, preparing fertile soil, watering and fertilizing correctly, and maintaining proper sunlight and spacing, you can enjoy impressive, nutritious harvests year after year.
Start planting today and experience the joy of growing extra-large, homegrown sweet potatoes!