Kale is one of the most nutritious leafy greens, packed with vitamins, antioxidants, and fiber, making it a favorite for health-conscious gardeners and food lovers. But what if you could grow kale in plastic bottles without worrying about daily watering? The YouTube video “How to grow kale in plastic bottles without watering for high productivity” shows an innovative method that allows you to harvest lush, healthy kale with minimal effort.
In this guide, we’ll explore step-by-step instructions, tips for high-yield production, and the benefits of bottle-based kale gardening for both beginners and experienced gardeners.
Why Grow Kale in Plastic Bottles
Growing kale in plastic bottles comes with numerous advantages:
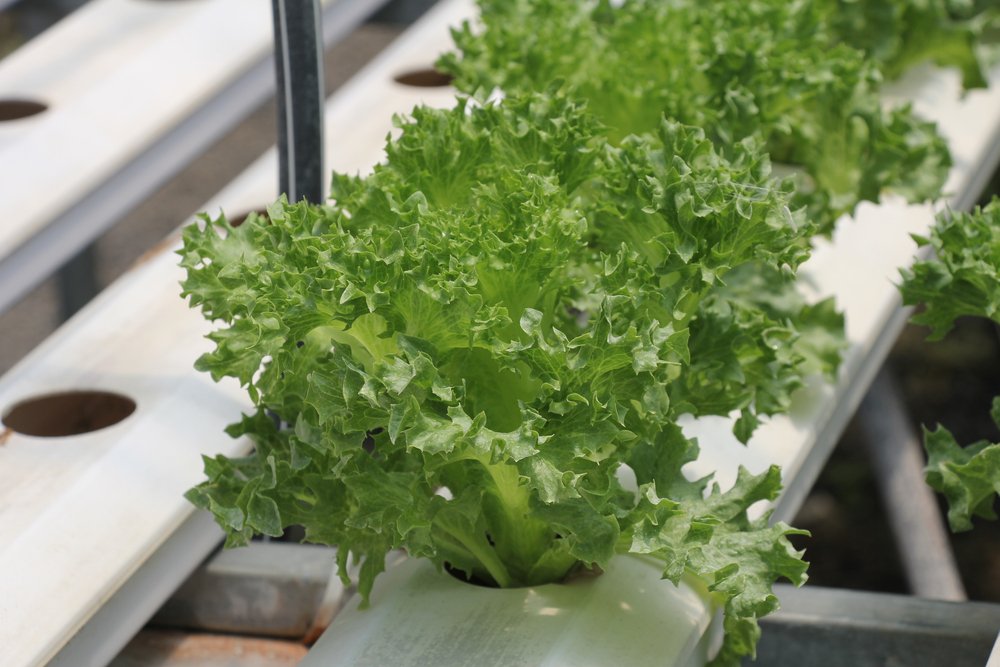
Space-saving: Perfect for balconies, terraces, and small urban spaces.
Water-efficient: Minimal watering required with self-sustaining techniques.
Cost-effective: Use recycled bottles to reduce gardening expenses.
Continuous harvest: High-yield production ensures fresh kale year-round.
Eco-friendly: Reduce waste and reuse plastic creatively.
This method is ideal for anyone looking for low-maintenance, high-productivity gardening.
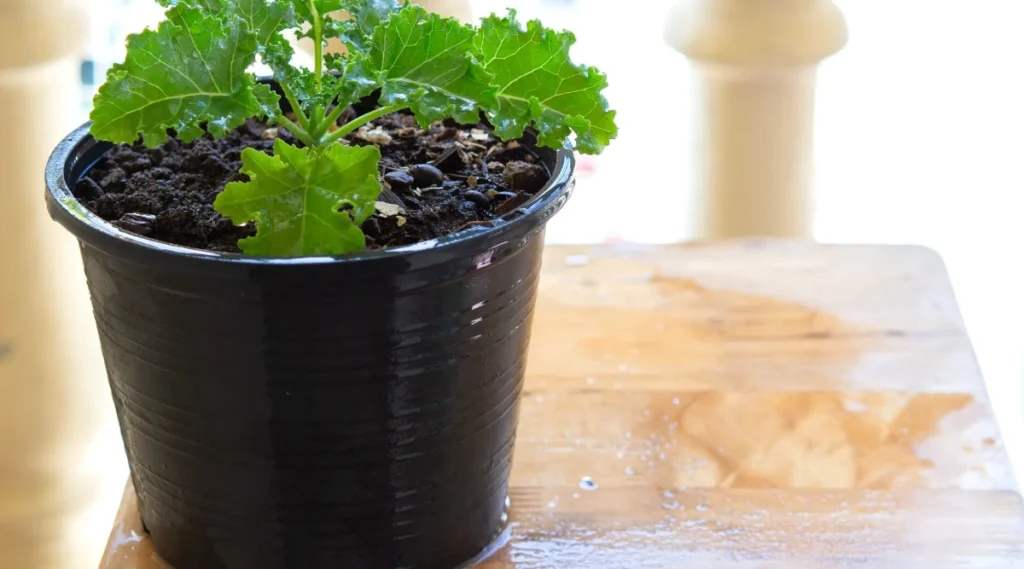
Step 1: Choosing the Right Kale
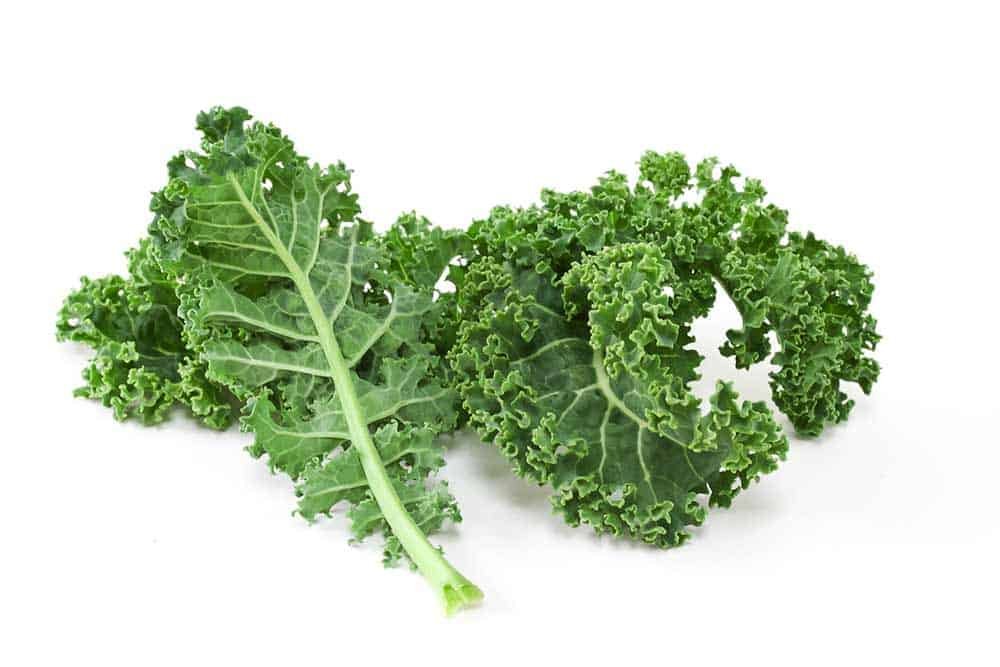
Selecting healthy seeds or seedlings is essential for maximum yield:
Tips for choosing kale:

- Use organic or untreated seeds for chemical-free growth.
- Choose healthy seedlings with strong stems and vibrant leaves.
- Popular varieties for bottle gardening include Curly Kale, Lacinato, and Red Russian.
Healthy seeds and seedlings give you fast growth and high productivity.
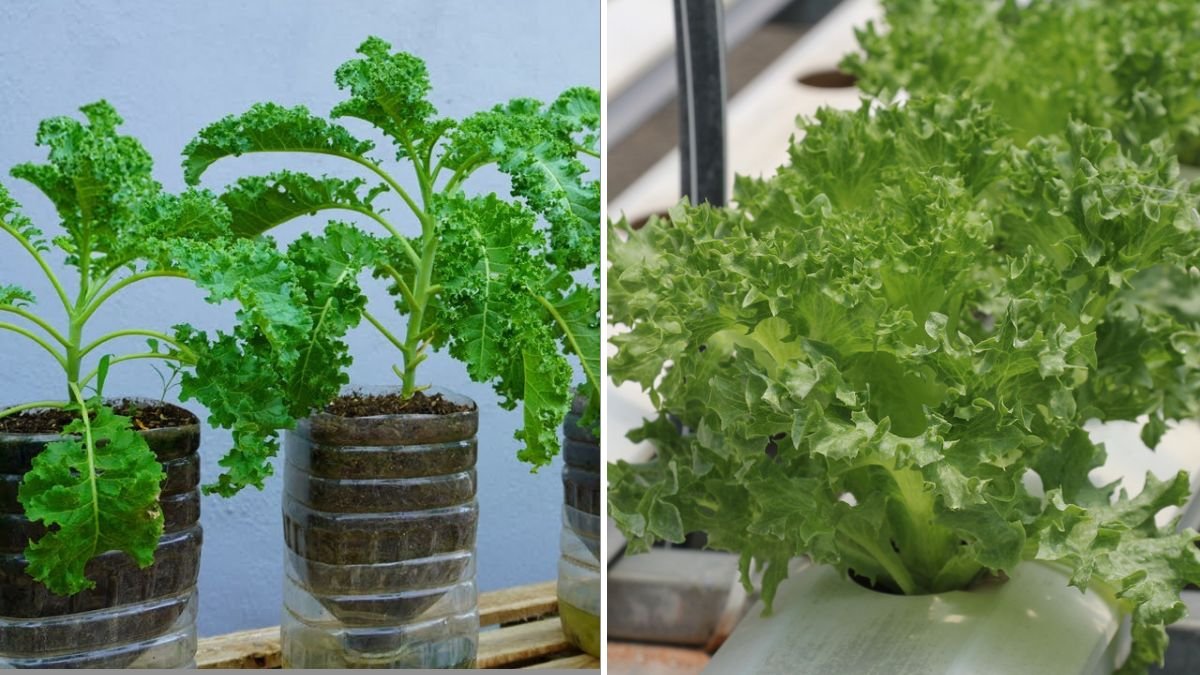
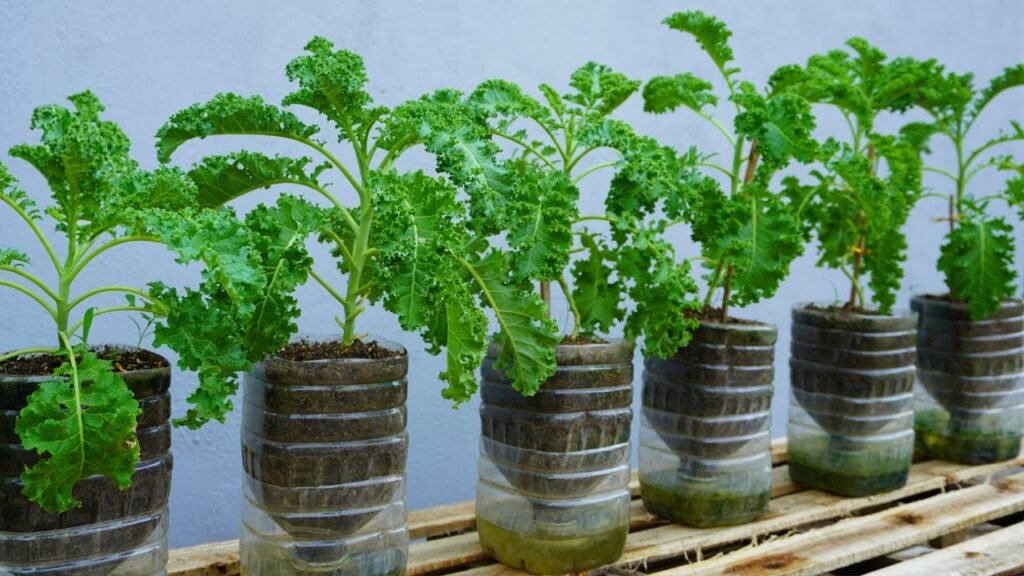
Step 2: Preparing Plastic Bottles
Plastic bottles serve as mini vertical planters, perfect for water-efficient gardening:
Steps:
- Use clean, 1–2 liter plastic bottles.
- Cut the bottle horizontally or create a slit along the side for planting.
- Punch small holes at the bottom for drainage and aeration.
- Optionally, cover the opening with mesh or cloth to support soil.
Plastic bottles are lightweight, reusable, and allow for easy handling and vertical setups.
Step 3: Choosing the Right Growing Medium
The growing medium helps retain moisture without constant watering:
Recommended mix:
- 40% coconut coir or sponge for water retention
- 30% compost or organic manure for nutrients
- 30% sand or perlite for aeration
Tips:

- Avoid heavy clay soil, which prevents proper root growth.
- Coconut coir and sponges act as self-watering mediums, reducing the need for frequent watering.
A well-prepared medium ensures healthy root development and high yield.
Step 4: Planting Kale in Plastic Bottles
Proper planting ensures strong growth and productivity:
Steps:
- Fill the bottle 2/3 with the prepared growing medium.
- Create a small hole and plant kale seeds or seedlings.
- Cover lightly with medium, leaving leaves exposed.
- Place bottles in a bright, well-lit location.
Pro Tip: Use vertical stacking or hanging setups to maximize space while growing multiple kale plants.
Step 5: Sunlight and Temperature Requirements
Kale thrives in cool temperatures and indirect sunlight:
- Ideal temperature: 18–24°C (65–75°F)
- Provide 4–6 hours of sunlight daily, preferably morning or indirect light.
- Avoid scorching afternoon sun, which can cause leaf burn.
Proper light ensures fast growth, vibrant leaves, and high productivity.
Step 6: Watering-Free Method
The key feature of this method is minimal watering:

- Use a self-watering medium like sponge or coconut coir that retains moisture.
- Top up the bottle occasionally with a small amount of water or nutrient solution.
- Avoid overwatering, as excess moisture can lead to root rot or fungal growth.
This technique reduces daily labor while keeping plants hydrated and thriving.
Step 7: Fertilization for High Yield
Kale grows best with regular feeding, even in water-efficient setups:
- Use organic liquid fertilizers or diluted compost tea once every 2–3 weeks.
- Focus on nitrogen-rich fertilizers for leafy growth.
- Avoid chemical fertilizers for safe, edible leaves.
Balanced nutrition promotes lush leaves, strong stems, and continuous harvest.
Step 8: Mulching and Maintenance
Mulching helps retain moisture and protects kale plants:
- Use dry leaves, straw, or small cloth pieces around the base.
- Check the bottle medium regularly to ensure proper aeration.
- Trim damaged or yellow leaves to promote healthy regrowth.
Proper care ensures sustained productivity with minimal effort.
Step 9: Pest and Disease Management
Even low-maintenance setups may face pests:
- Aphids, whiteflies, or small insects may attack leaves.
- Fungal growth can occur if medium stays too wet.
Organic solutions:

- Spray neem oil or mild garlic solution for pest control.
- Ensure air circulation and avoid excessive moisture.
- Remove yellow or damaged leaves promptly.
Healthy plants produce more leaves and higher yield.
Step 10: Harvesting Kale
Harvesting kale correctly ensures continuous growth:
- Begin harvesting when leaves are 6–8 inches long.
- Use scissors to cut outer leaves first, leaving the central stem and younger leaves intact.
- Continue harvesting every 1–2 weeks for high productivity.
Pro Tip: Regular harvesting encourages new growth and bushier plants.
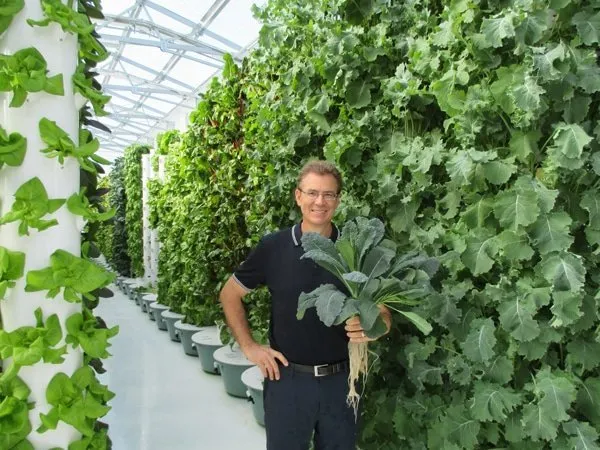
Step 11: Advantages of Growing Kale in Bottles
Minimal maintenance: No daily watering required
Space-saving: Vertical or hanging setups fit small areas
High yield: Continuous harvest from a single plant
Cost-effective: Reuse plastic bottles and organic media
Eco-friendly: Reduces plastic waste and promotes sustainable gardening
This method is perfect for busy people, urban dwellers, and beginners.
Step 12: Culinary and Health Benefits
Homegrown kale is nutritious and versatile:
Add to salads, wraps, or smoothies
Stir-fry with garlic and olive oil
Use as garnish in soups or stews
Juice for vitamins and antioxidants

Health benefits:
- Rich in vitamins A, C, and K
- High in antioxidants and fiber
- Supports immunity, heart health, and digestion
- Low in calories and ideal for weight management
Homegrown kale is tastier, fresher, and chemical-free compared to store-bought leaves.
Step 13: Tips for Maximum Productivity
- Use healthy seeds or seedlings for fast growth.
- Use a self-watering medium like coconut coir or sponge.
- Provide bright, indirect sunlight for optimal growth.
- Fertilize every 2–3 weeks for lush leaves.
- Harvest regularly to encourage continuous growth.
- Monitor for pests and remove damaged leaves.
Following these tips ensures high-yield, low-maintenance kale gardening.
Step 14: Conclusion
The YouTube video “How to grow kale in plastic bottles without watering for high productivity” demonstrates a simple, efficient, and innovative gardening technique.
By using plastic bottles, self-watering media, proper sunlight, and organic nutrition, anyone can enjoy lush kale with minimal effort. This method is perfect for urban spaces, beginners, or busy gardeners who want a continuous supply of nutritious greens without daily maintenance.
Start today and transform plastic bottles into productive kale gardens!