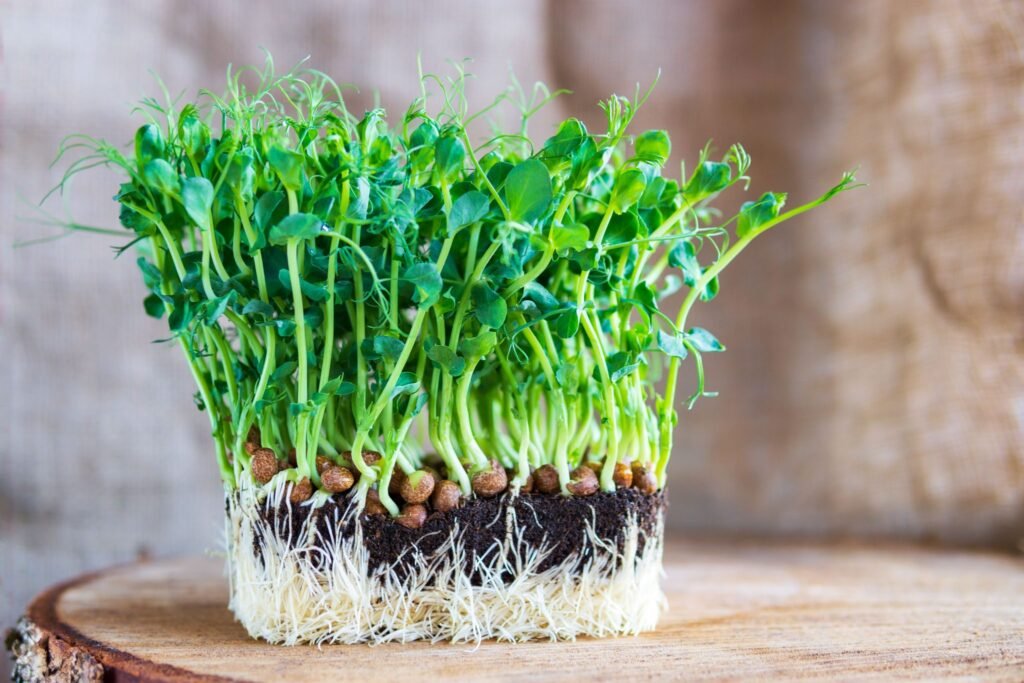
Pea shoots are tender, nutritious, and packed with flavor, making them a popular choice for salads, stir-fries, and garnishes. But did you know you can grow pea shoots without soil, using just a simple styrofoam box? The YouTube video “How to Grow Pea Shoots Without Soil | Plant Pea in Styrofoam Box for beginners” demonstrates an easy, cost-effective method that is perfect for beginners, urban gardeners, or anyone who wants a continuous supply of fresh greens.
In this blog, we’ll cover everything from choosing peas and preparing the styrofoam box to harvesting your lush, nutrient-rich pea shoots at home.
Why Grow Pea Shoots Without Soil
Growing pea shoots hydroponically or in water offers several advantages:
Soil-free: No need for garden space or soil preparation.
Quick growth: Pea shoots can be ready to harvest in 7–12 days.
Cost-effective: Use kitchen scraps or leftover peas.
Space-saving: Perfect for balconies, terraces, and indoor windowsills.
Highly nutritious: Pea shoots are rich in vitamins A, C, and K, antioxidants, and minerals.
This method allows anyone to grow fresh, chemical-free pea shoots quickly and efficiently.
Step 1: Choosing Peas
Not all peas are ideal for growing shoots, so choosing the right variety is important:
Tips for selecting peas:

- Use organic or untreated peas to avoid chemicals.
- Choose whole peas, preferably fresh or dried that can sprout.
- Avoid broken or damaged peas as they may not germinate.
Healthy peas ensure fast, vigorous shoot growth.
Step 2: Preparing Peas for Germination
Germination is the first step in successful pea shoot growth:
Steps:
- Soak the peas in water for 8–12 hours or overnight.
- Drain and rinse the peas, then leave them in a bowl or container covered with a damp cloth.
- Rinse and drain the peas twice daily until tiny roots appear (usually 1–2 days).
Soaking and sprouting the peas ensures rapid and uniform growth when placed in the styrofoam box.
Step 3: Preparing the Styrofoam Box
Styrofoam boxes are lightweight, reusable, and perfect for hydroponic-style planting:
Steps:
- Choose a clean styrofoam box with a lid or a depth of 6–8 inches.
- Drill or punch small holes at the bottom for drainage, if needed.
- Optionally, line the box with a moist cloth, sponge, or coconut coir to hold the seeds and water.
- Fill the box with water or place a thin layer of damp material to provide moisture.
Styrofoam boxes are lightweight, insulating, and easy to manage, making them ideal for beginners.

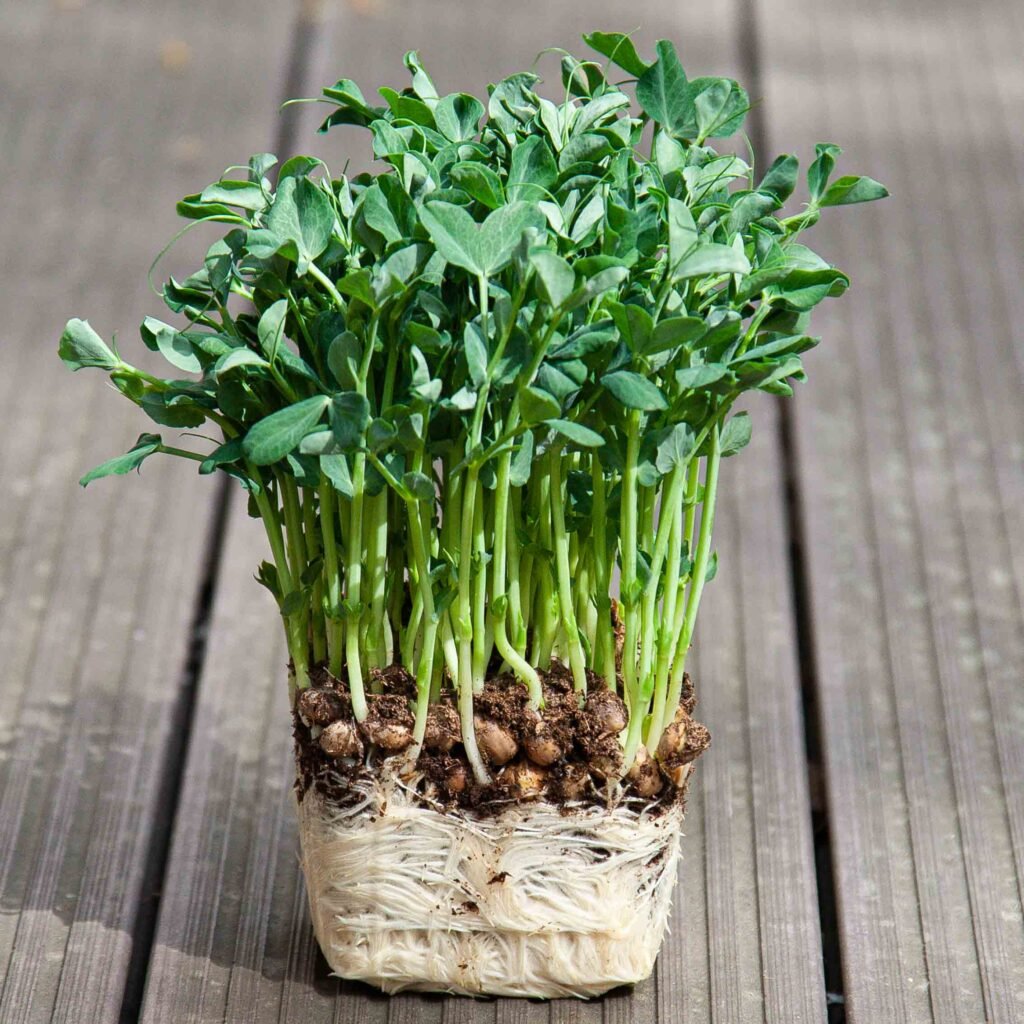
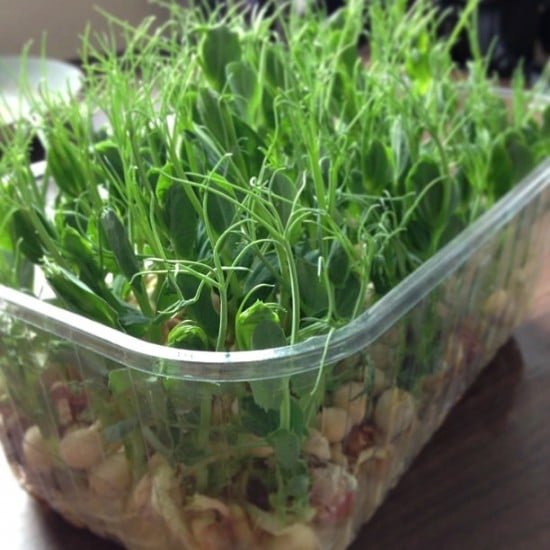
Step 4: Planting Peas in the Styrofoam Box
Planting pea shoots correctly ensures healthy growth and abundant leaves:
Steps:
- Spread germinated peas evenly on the surface of the box.
- Ensure peas are not overcrowded; leave small gaps for airflow.
- Cover lightly with a thin layer of damp cloth or leave exposed for sunlight.
- Keep the box in bright, indirect sunlight for 4–6 hours daily.
Pro Tip: Proper spacing and sunlight exposure encourage fast, uniform growth.
Step 5: Watering and Maintaining Moisture
Moisture is critical for hydroponic pea shoot growth:
- Keep the surface constantly damp but not waterlogged.
- Mist the shoots once or twice a day to maintain humidity.
- Ensure water level in the box reaches just below the peas if using hydroponic setup.
Consistent moisture ensures fast, lush growth without mold or root rot.
Step 6: Sunlight and Temperature
Pea shoots prefer moderate temperatures and bright light:
- Ideal temperature: 18–24°C (65–75°F)
- Provide 4–6 hours of indirect sunlight daily.
- Avoid scorching sunlight, which can dry shoots or damage leaves.
Proper light encourages long, tender stems and vibrant green leaves.

Step 7: Fertilization (Optional)
While pea shoots can grow in plain water, adding nutrients can boost growth:
- Use liquid organic fertilizers diluted in water once or twice during growth.
- Avoid chemical fertilizers for small edible shoots.
- Nutrients help produce longer, greener, and more nutritious leaves.
Optional feeding is ideal for gardeners who want maximum yield.
Step 8: Pest and Disease Management
Pea shoots are generally resilient but may face minor issues:
- Fungal growth if water stagnates
- Aphids or small insects in indoor setups
Organic solutions:
- Ensure good airflow and avoid overwatering.
- Use neem oil spray or mild garlic solution for pests.
- Remove any yellow or decaying leaves promptly.
Healthy shoots grow quickly and taste fresh.
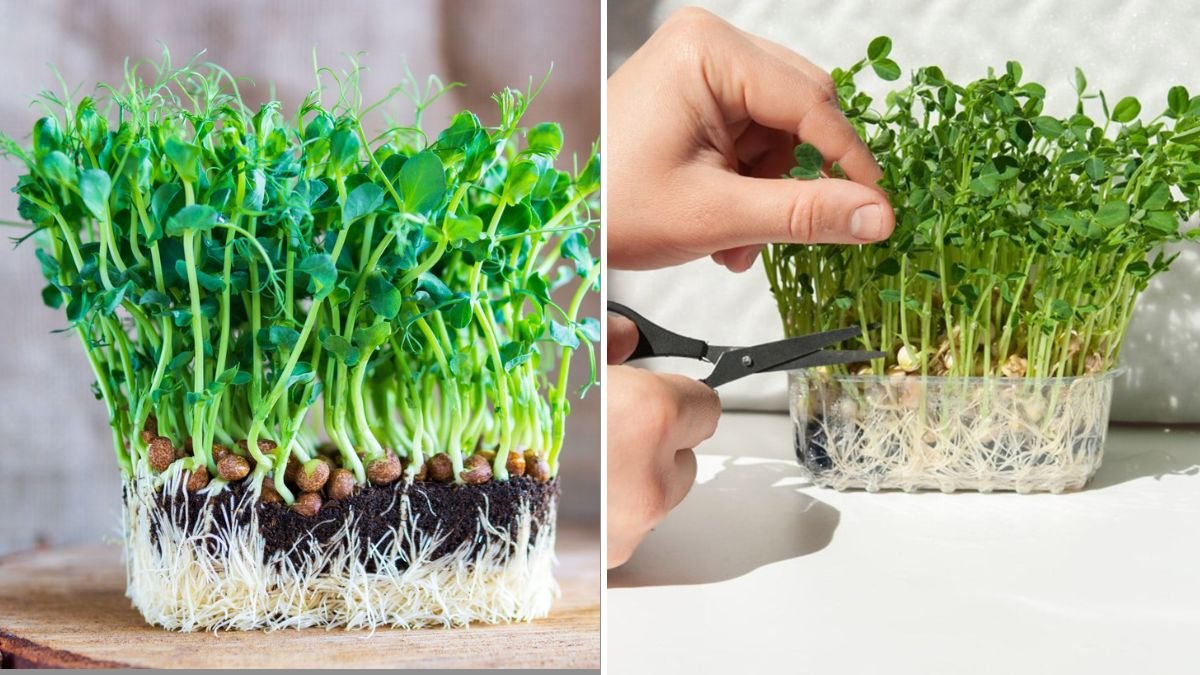
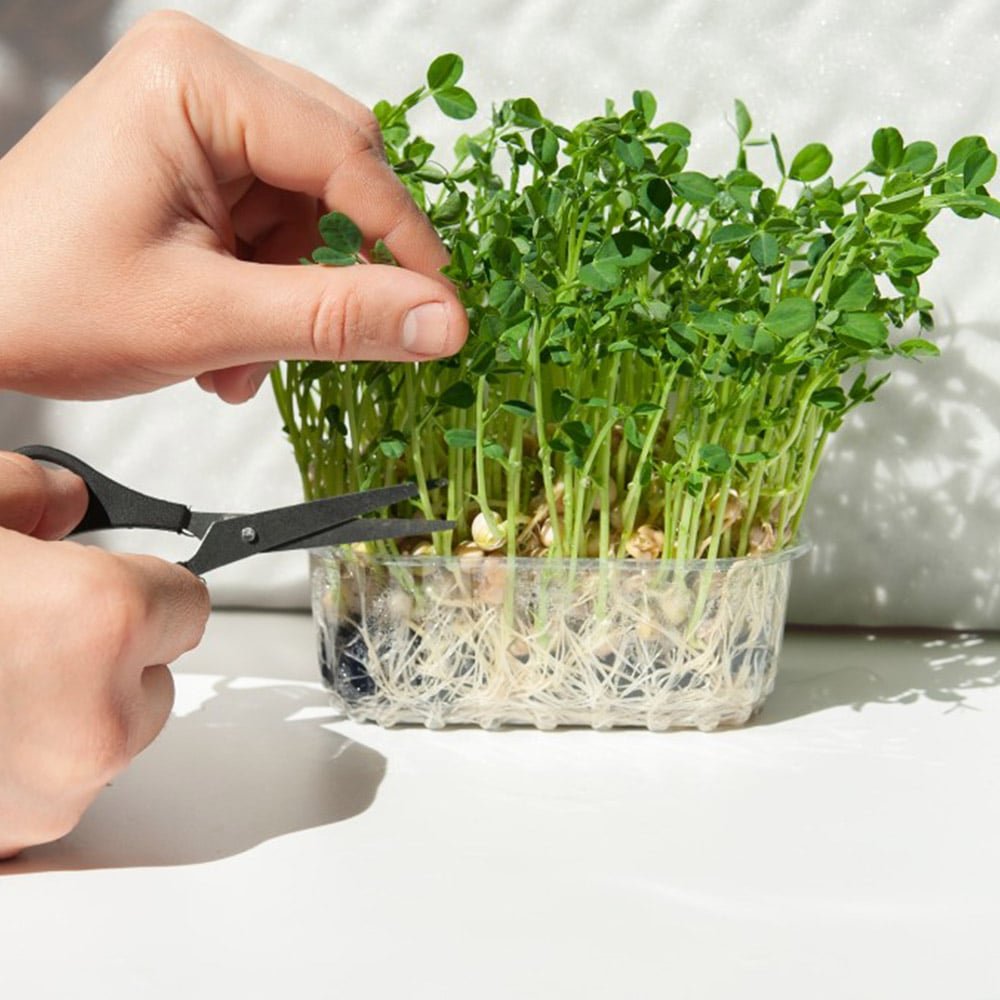
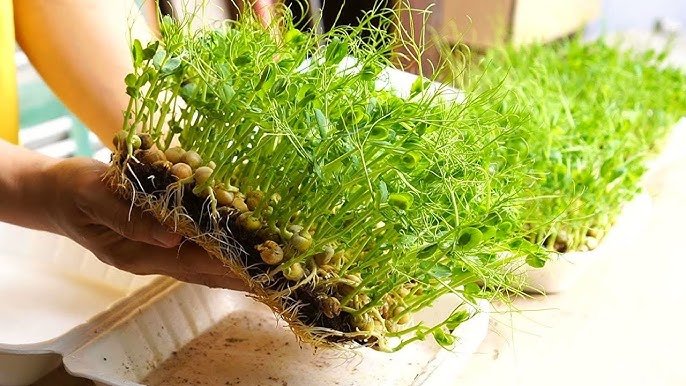
Step 9: Harvesting Pea Shoots
One of the biggest advantages of pea shoots is quick and repeated harvesting:
- Ready to harvest in 7–12 days once leaves are 3–6 inches tall.
- Use scissors to cut just above the base, leaving roots intact.
- Continue watering and misting to allow regrowth for a second or third harvest.
Regular harvesting encourages bushy growth and more leaves.

Step 10: Advantages of Growing Pea Shoots in Styrofoam Boxes
Soil-free: Ideal for apartments and indoor gardening.
Rapid growth: Enjoy fresh greens within a week.
Cost-effective: Use leftover peas to produce continuous greens.
Space-saving: Compact setup for terraces, balconies, or kitchen corners.
Highly nutritious: Packed with vitamins, antioxidants, and minerals.
Even beginners can grow a year-round supply of tender pea shoots using this method.
tritious than store-bought greens
Step 11: Culinary Uses of Pea Shoots
Pea shoots are versatile, tender, and flavorful:
Add to salads, wraps, and sandwiches
Stir-fry with garlic and sesame oil
Blend into smoothies or juices for nutrients
Garnish soups and main dishes for color and flavor
Health benefits:
- Rich in vitamins A, C, and K
- Contains antioxidants to boost immunity
- Supports digestion and heart health
- Low in calories, ideal for weight management
Fresh homegrown pea shoots are tastier and more nutritious than store-bought greens..

Step 12: Tips for Maximum Success
- Use fresh, healthy peas for germination.
- Ensure even spacing in the styrofoam box for airflow.
- Maintain constant moisture without waterlogging.
- Provide bright, indirect sunlight for 4–6 hours daily.
- Optional: Feed with organic liquid nutrients for bigger leaves.
- Harvest regularly to encourage continuous growth.
- Monitor for pests and remove damaged leaves promptly.
Following these tips ensures vibrant, fast-growing pea shoots every week.
Conclusion: Grow Pea Shoots Without Soil Easily
The YouTube video “How to Grow Pea Shoots Without Soil | Plant Pea in Styrofoam Box for beginners” demonstrates that growing fresh, nutritious greens at home is easy, fast, and affordable.
By choosing healthy peas, preparing a styrofoam box, maintaining moisture, providing light, and harvesting regularly, anyone can enjoy continuous, tender pea shoots without soil or garden space.