
Bhindi Masala — a vibrant, spicy, and flavorful Indian dish made from okra — is one of those comfort foods that can elevate any meal. The key challenge, though, is keeping the bhindi (okra) crispy, not slimy, while still full of masala flavor. In this detailed 6-step guide, you’ll learn how to make restaurant-style crispy Bhindi Masala at home, using simple techniques that ensure perfect texture and taste every time.
Step 1: Choose and Prepare the Bhindi Properly
The first and most important step to achieving crispy bhindi begins long before it hits the pan — it’s all about selection and preparation.
What to Look For:
- Choose young, tender, and medium-sized bhindi. Avoid large or wrinkled ones, as they tend to be tough and fibrous.
- The tip test: snap the end of a bhindi — if it breaks easily, it’s fresh and tender.
Preparation:
- Wash the bhindi thoroughly under running water.
- Dry them completely using a kitchen towel or paper napkin. Moisture is the biggest enemy of crispiness — even a few drops of water can make them slimy while cooking.
- Cut off the head and tail, then slice the bhindi into 1-inch pieces (or lengthwise, if you prefer a more traditional look).
Pro Tip: Wash the bhindi at least an hour before cooking and spread it on a towel to air-dry completely.

Step 2: Gather All the Ingredients

For the Bhindi Fry:
- 500 g fresh bhindi (okra), chopped
- 2 tablespoons oil
- ½ teaspoon cumin seeds
- 1 medium onion, finely sliced
- 1 medium tomato, finely chopped
- 1 green chili, slit (optional)
- 1 teaspoon ginger-garlic paste
- Salt to taste
For the Spice Mix:
- 1 teaspoon turmeric powder
- 1½ teaspoons red chili powder
- 2 teaspoons coriander powder
- 1 teaspoon cumin powder
- ½ teaspoon garam masala
- 1 teaspoon amchur (dry mango powder) or lemon juice for tang
You can also add 1 tablespoon of gram flour (besan) for extra crispiness and texture.
Step 3: Shallow-Fry the Bhindi for Crispiness
This step is the secret weapon for getting non-sticky, crisp bhindi. Frying it separately before mixing with masala helps reduce moisture and prevents the infamous “slime.”
Method:

- Heat 2 tablespoons of oil in a wide, heavy-bottomed pan.
- Once the oil is hot, add the chopped bhindi.
- Fry on medium-high heat, stirring occasionally. Avoid over-stirring, as this can break the pieces.
- Continue frying for 10–12 minutes until the bhindi looks slightly browned and crisp around the edges.
At this point, the bhindi should be 80% cooked. Remove it from the pan and set aside on a plate lined with a paper towel to drain excess oil.
Pro Tip: Never cover the bhindi while cooking — steam causes it to become sticky.
Step 4: Prepare the Masala Base
Now it’s time to build the flavorful masala that gives this dish its signature taste.
- In the same pan (add a little oil if needed), add cumin seeds and let them splutter.
- Add finely sliced onions and sauté until golden brown.
- Stir in ginger-garlic paste and sauté for another minute until fragrant.
- Add chopped tomatoes and cook until they become soft and the oil begins to separate from the masala.
This process caramelizes the onions and releases the natural sweetness, which perfectly balances the spice blend.
Spice It Up:
Once the tomato mixture is ready, add all the powdered spices — turmeric, chili, coriander, cumin, garam masala, and salt. Mix well and cook for 2–3 minutes on low flame to let the spices bloom.

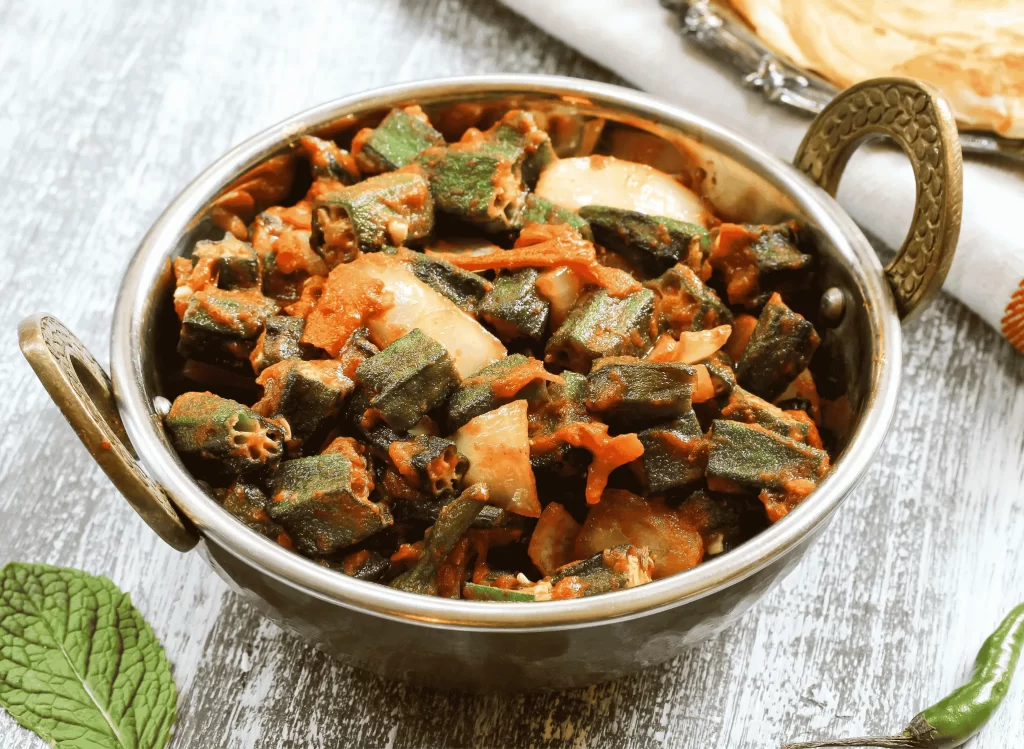
Step 5: Combine Fried Bhindi with Masala

- Gently add the fried bhindi into the pan with the masala.
- Mix carefully so that every piece of bhindi gets coated with the flavorful masala.
- Cook uncovered on low heat for 5–6 minutes, stirring occasionally.
The key here is patience — slow cooking helps the spices penetrate the bhindi while maintaining its crispiness. If you prefer a slightly tangy flavor, sprinkle amchur powder or squeeze a bit of lemon juice at this stage.
Optional Additions:
- For a slightly crunchy texture, add a spoonful of roasted gram flour (besan) before finishing the dish.
- For a richer version, you can toss in a spoon of crushed kasuri methi (dried fenugreek leaves).
Step 6: Finish and Serve Perfectly
Once your bhindi is fully cooked, aromatic, and coated in thick masala, it’s time to finish it off with the right garnish and serve it hot.
- Turn off the flame and let it rest for 5 minutes — this helps the flavors settle.
- Garnish with chopped coriander leaves for freshness.
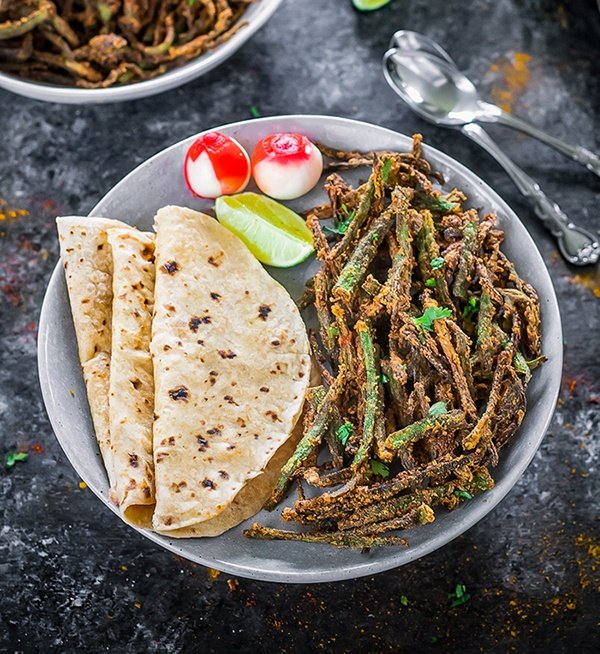
- Serve hot with roti, paratha, or steamed basmati rice.
Serving Suggestions:
- Pair it with dal and jeera rice for a complete vegetarian meal.
- It also goes perfectly with curd or raita for a cooling balance to the spices.
Bonus Tips for Crispy Bhindi Masala
- Oil control: Bhindi absorbs oil quickly, so use minimal but sufficient oil to coat it evenly.
- Avoid covering: Covering the pan traps moisture and makes bhindi sticky.
- Salt timing: Add salt only after bhindi has started to crisp up; adding it too early releases water.
- Cook in batches: If making a large quantity, fry the bhindi in smaller batches for even crisping.
- Use a wide pan: The more spread out the bhindi, the crisper it gets.
Variations to Try
1. Dry Bhindi Masala (No Tomato Version):
Skip tomatoes entirely and add a spoonful of gram flour for a drier, crunchier dish that pairs well with chapatis.

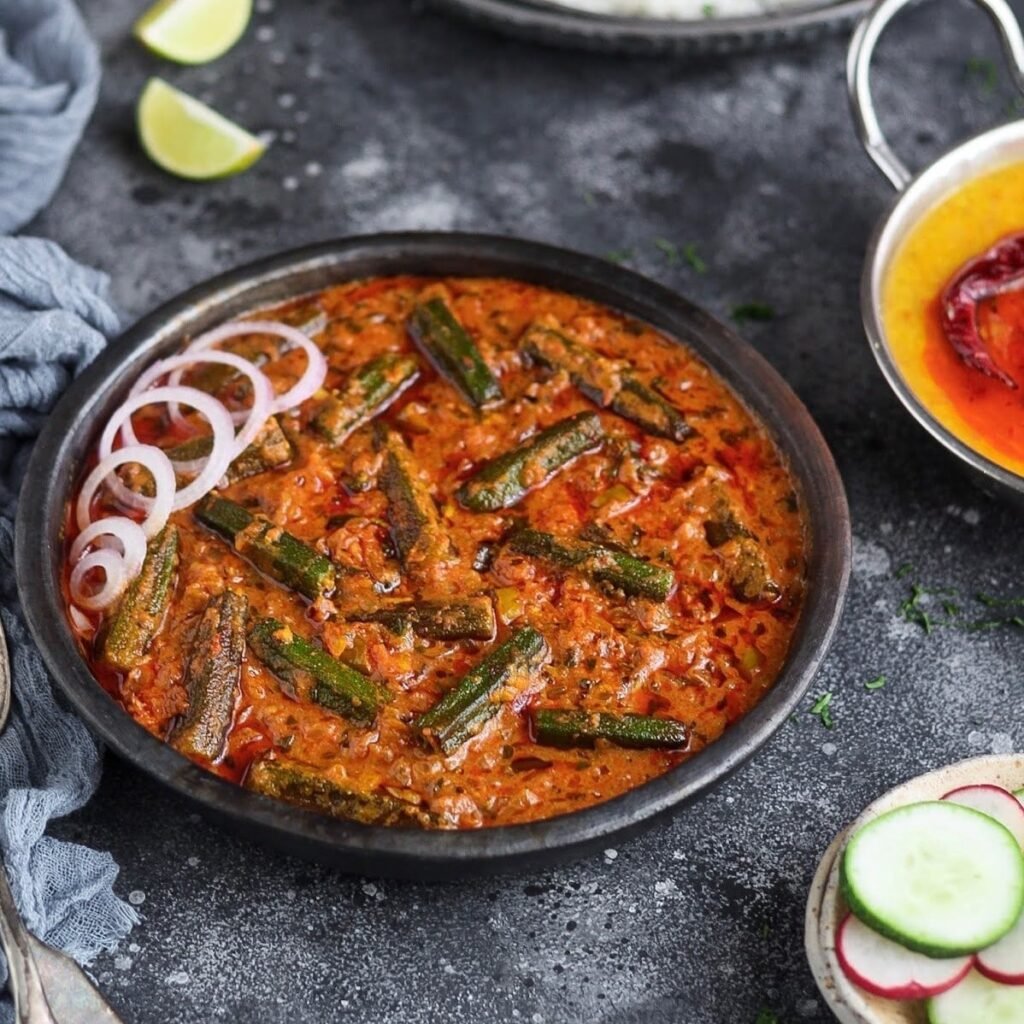
2. Semi-Gravy Bhindi Masala:
Add 2 tablespoons of yogurt or ¼ cup of coconut milk for a soft, creamy texture with the same spice balance.
3. Punjabi Style Bhindi Masala:
Add crushed kasuri methi, extra onions, and a touch of cream for a restaurant-style taste.
4. South Indian Bhindi Fry:
Add curry leaves, mustard seeds, and grated coconut for a coastal twist.
Nutritional Benefits
Bhindi Masala isn’t just delicious — it’s also packed with nutrients.
- Rich in fiber: Aids digestion and keeps you full longer.
- High in vitamins C and K: Great for immunity and skin health.
- Low in calories: Perfect for a light, satisfying meal.
- Good source of antioxidants: Helps combat inflammation.
It’s a guilt-free comfort food that’s both satisfying and nourishing.

Final Thoughts
Making crispy Bhindi Masala at home is easier than it looks. By following this 6-step guide, you’ll achieve perfectly cooked, flavorful bhindi every single time — crisp on the outside, tender inside, and bursting with masala goodness.
Whether served as a main dish or a side, Bhindi Masala brings a touch of homestyle warmth to any meal. So the next time you buy fresh okra, skip the usual stir-fry — instead, try this crispy, aromatic, and utterly delicious Bhindi Masala that’ll make everyone ask for seconds!