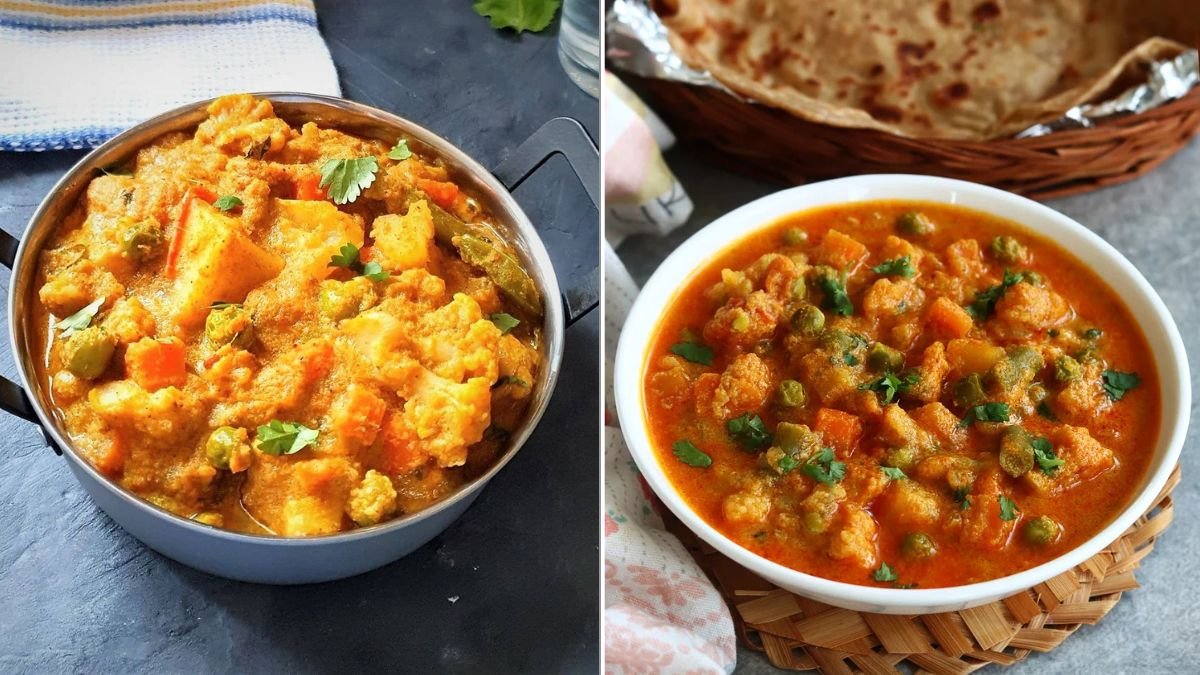
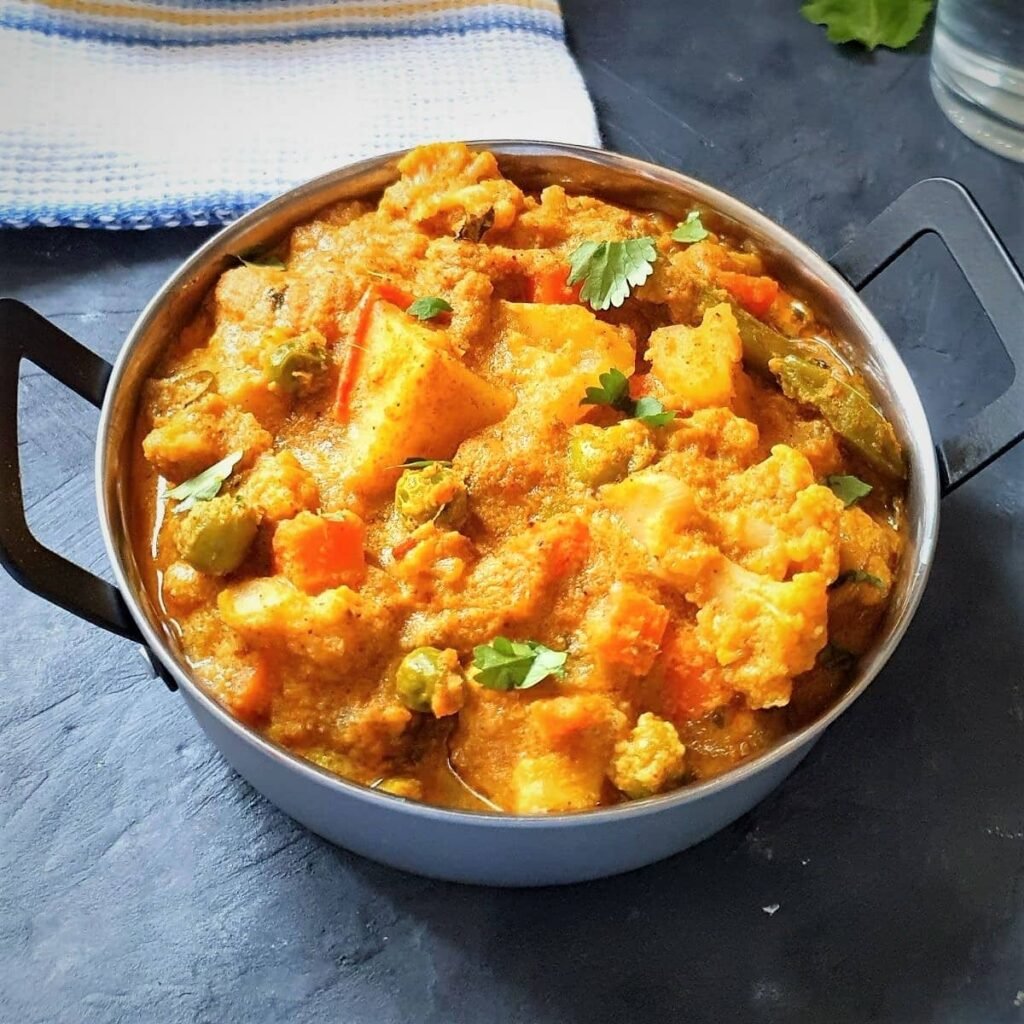
Few dishes embody the warmth and richness of South Indian home cooking like Vegetable Kurma. This creamy, aromatic curry filled with colorful vegetables and infused with coconut and spices is the perfect blend of comfort and flavor. Whether served with fluffy appams, flaky parottas, or steaming idlis, Vegetable Kurma is a dish that never fails to impress.
If you’ve ever wanted to recreate that restaurant-quality kurma at home, this 5-step guide will help you make it perfectly every single time. From choosing the right vegetables to preparing the traditional coconut masala base, we’ll walk you through every detail for authentic South Indian taste.
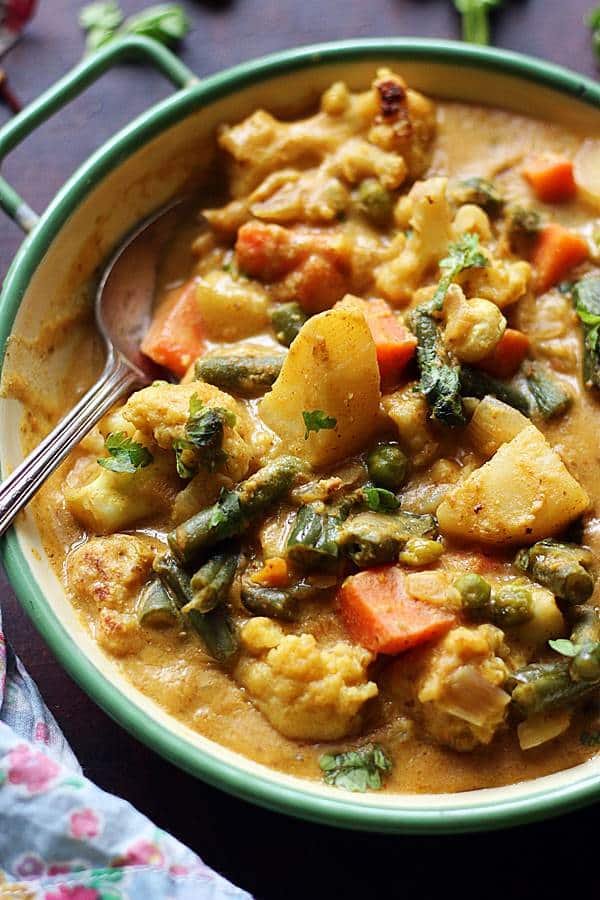
Step 1: Choose and Prep the Right Vegetables
A great kurma starts with the right mix of vegetables. The idea is to balance color, texture, and flavor while keeping everything bite-sized so the curry cooks evenly.
Best vegetables for South Indian-style Kurma:
- Carrots – add sweetness and color.
- Beans – bring crunch and freshness.
- Green peas – add texture and slight sweetness.
- Cauliflower – absorbs flavors beautifully.
- Potatoes – give body and thickness to the curry.
- Capsicum (bell peppers) – for aroma and mild heat.
Preparation:

- Wash, peel, and chop all vegetables into small, even pieces (around 1 cm cubes).
- For quick cooking, you can steam or parboil them for 3–4 minutes—just until they begin to soften. This helps maintain their bright color and prevents overcooking later.
- Drain and set aside.
Pro Tip: Avoid using watery vegetables like tomato or bottle gourd in excess—they can make the curry too thin.
Step 2: Prepare the Traditional Kurma Masala Paste
The heart of any South Indian kurma lies in its coconut-based masala. Unlike North Indian gravies that rely on cream or yogurt, South Indian versions get their creamy texture and depth of flavor from freshly ground coconut, poppy seeds, and aromatic spices.
Ingredients for the masala:
- ½ cup grated fresh coconut
- 1 tablespoon roasted gram dal (pottukadalai)
- 1 tablespoon cashew nuts or soaked almonds (for creaminess)
- 1 tablespoon poppy seeds (khus khus) or melon seeds (optional)
- 1 teaspoon fennel seeds (saunf) – key for that kurma aroma
- 2–3 green chilies (adjust to taste)
- 1-inch piece of ginger
- 4–5 cloves of garlic
- A small piece of cinnamon
- 2–3 cloves
- A few coriander leaves for freshness
- Water (as needed for grinding)
Instructions:
- Combine all these ingredients in a blender or wet grinder.
- Add just enough water to make a smooth, thick paste.
- Blend until silky—this paste will give the kurma its rich body and signature flavor.
Flavor note: The coconut-fennel-green chili combo gives the kurma its distinct South Indian fragrance—mild, fragrant, and deeply satisfying.

Step 3: Sauté the Aromatics and Build the Base

Now that your vegetables and masala are ready, it’s time to build the flavorful base that ties everything together.
You’ll need:
- 2 tablespoons oil or ghee (or a mix of both for richer taste)
- 1 bay leaf
- 1 teaspoon mustard seeds
- 1 sprig of curry leaves
- 2 medium onions, finely sliced
- 1 medium tomato, finely chopped
- Salt, to taste
- ¼ teaspoon turmeric powder
Steps:
- Heat oil in a thick-bottomed pan or kadai.
- Add mustard seeds; once they splutter, add curry leaves and the bay leaf.
- Add sliced onions and sauté on medium heat until they turn golden and soft. This is where sweetness develops and forms the base flavor.
- Add chopped tomatoes, a pinch of salt, and turmeric powder. Cook until the tomatoes soften completely and the oil begins to separate.
Once your onion-tomato mixture is cooked, you’re ready for the next crucial step—adding the masala.
Step 4: Add Masala, Vegetables, and Simmer to Perfection
- Add the freshly ground coconut masala paste to the pan and sauté it gently for 2–3 minutes. This step helps the raw flavors of the masala mellow and allows the spices to release their aroma.
- Now add the parboiled vegetables and toss them in the masala until well coated.
- Pour in about 1½ cups of warm water (or as needed for desired consistency). Stir well to combine everything.
- Season with salt to taste and bring the mixture to a gentle boil.
- Reduce the heat to low, cover with a lid, and simmer for 10–12 minutes.
During this time, the vegetables absorb all the beautiful flavors of the masala while the gravy thickens naturally from the coconut and cashew base.

Pro Tip: Stir occasionally to prevent sticking. The key to a perfect kurma is slow simmering—allowing the flavors to blend and develop richness without rushing the process.
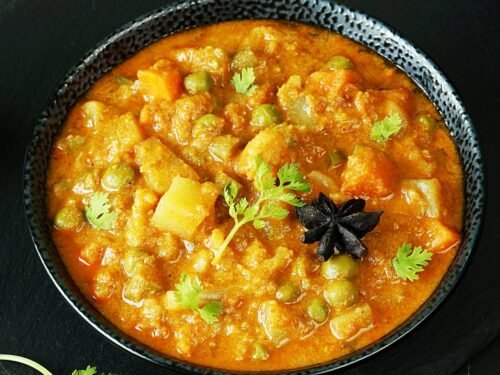
Step 5: Finish and Garnish for That Authentic Touch
Once your kurma reaches a creamy consistency and the vegetables are tender, it’s time for the final flourish.
Final touches:
- Add ½ teaspoon garam masala for a mild warmth (optional but recommended).
- Stir in a handful of finely chopped coriander leaves for freshness.
- Add a squeeze of lemon juice to balance the richness.
- If you prefer a slightly richer texture, mix in 1–2 tablespoons of coconut milk at the end and turn off the heat.
Texture check: The gravy should be thick enough to coat the back of a spoon, but not too heavy—it should still flow smoothly.
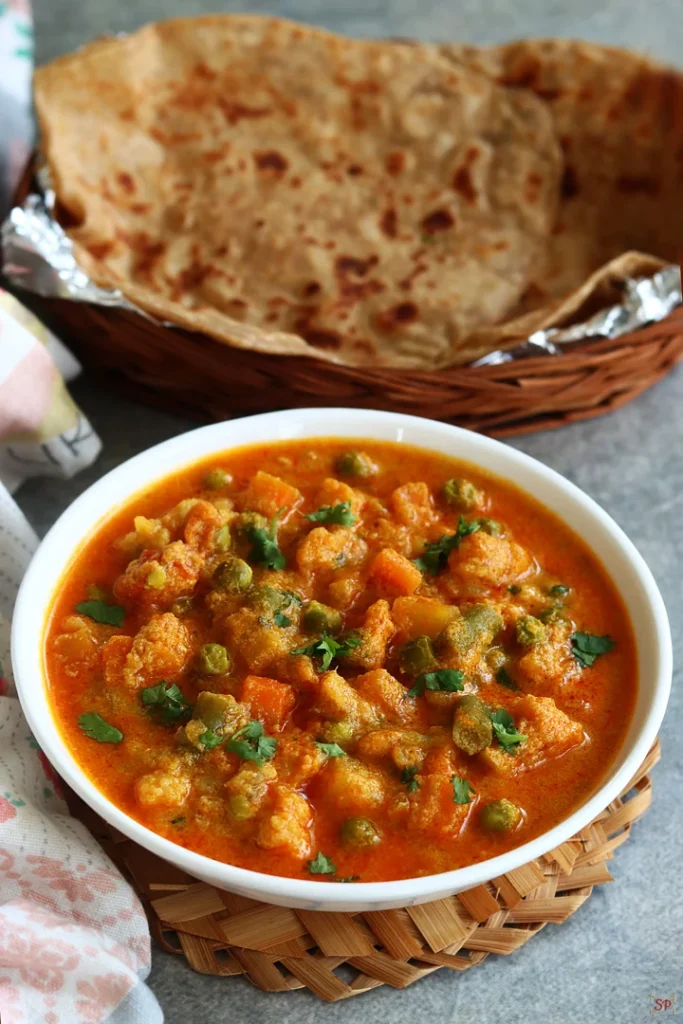
Now, your South Indian-style Vegetable Kurma is ready to serve!

Serving Suggestions: What to Pair It With
Vegetable Kurma is a versatile curry that pairs beautifully with a wide variety of South Indian staples:
- With Tiffin items: Serve hot with soft idlis, crispy dosas, or fluffy appams for a classic South Indian breakfast or brunch.
- With Indian breads: Pair it with chapatis, parottas, or poori for a hearty dinner.
- With rice: Kurma also tastes heavenly with plain steamed rice, jeera rice, or ghee rice.
For a traditional touch, serve it in a small bowl with a drizzle of coconut milk and garnish with curry leaves.
Bonus Tips for Perfect Kurma Every Time
- Use fresh coconut: Frozen or desiccated coconut won’t give the same flavor or texture.
- Balance spice and creaminess: Adjust green chili and coconut ratio based on your preference.
- Avoid overcooking vegetables: They should be tender but still hold their shape.
- Don’t skip fennel seeds: They are the signature spice in most South Indian kurmas.
- Enhance flavor with kasuri methi or mint: For a unique twist, add a pinch at the end of cooking.
Health Benefits of Vegetable Kurma
Aside from being delicious, Vegetable Kurma is also a nutrient-packed meal:
- High in fiber from mixed vegetables, aiding digestion.
- Rich in healthy fats from coconut and nuts.
- Loaded with vitamins and minerals like vitamin C, potassium, and magnesium.
- Low in cholesterol when cooked with minimal oil.
It’s a wholesome, balanced dish that fits perfectly into vegetarian and plant-based diets.
Common Mistakes to Avoid
- Adding raw masala paste directly to water: Always sauté the masala briefly to remove rawness.
- Using too much water: This can make the kurma watery and dull in flavor.
- Skipping tempering (tadka): Curry leaves and mustard seeds are essential for that authentic South Indian aroma.
- Cooking on high flame: It can cause the coconut paste to curdle or burn.
Avoiding these pitfalls ensures your kurma turns out creamy, flavorful, and perfectly balanced every time.

Conclusion: A South Indian Classic Worth Mastering
Vegetable Kurma is a celebration of flavor—mild yet aromatic, rich yet wholesome. Its versatility makes it a star dish across South India, served from home kitchens to temple feasts. The creamy coconut gravy, the aroma of fennel and curry leaves, and the medley of vegetables all come together to create a comforting, soulful meal.
With this 5-step guide, you now have everything you need to recreate the authentic taste of South Indian Vegetable Kurma right at home. So gather your spices, chop your veggies, and let the comforting aroma of simmering kurma fill your kitchen.
Serve it hot, share it with family, and enjoy every spoonful of this timeless South Indian delicacy.