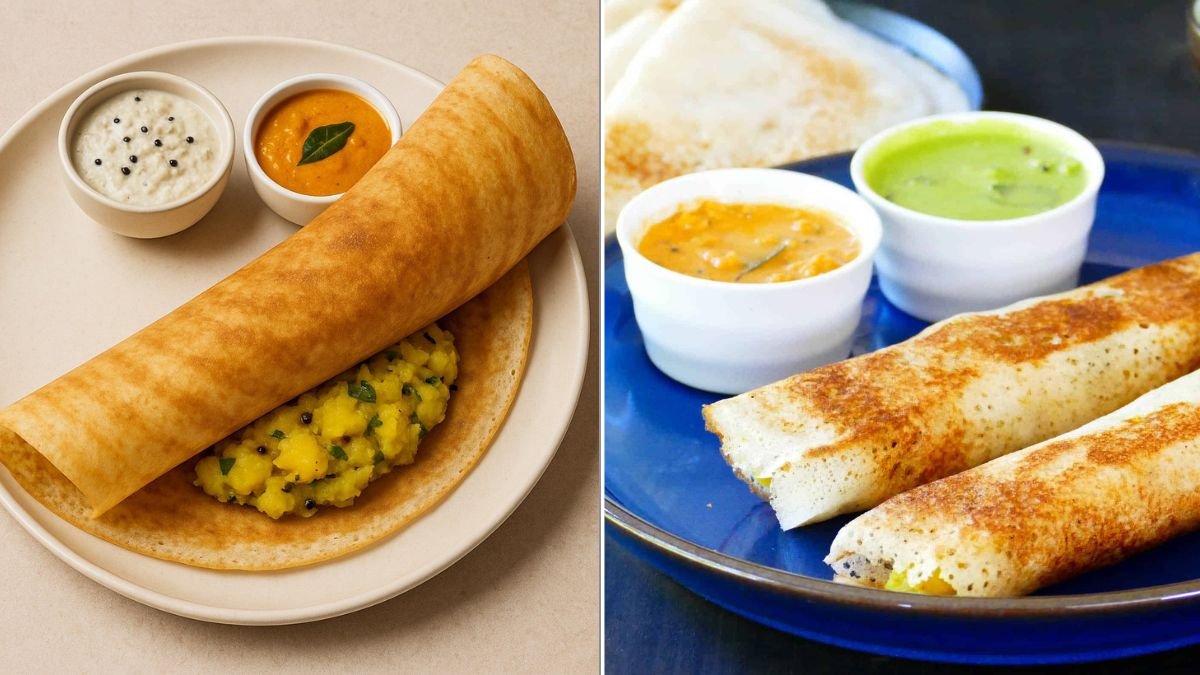
Few dishes capture the magic of South Indian cuisine quite like a crispy golden Masala Dosa. The satisfying crunch of the dosa, paired with the creamy, spiced potato masala and a side of coconut chutney or sambar, is pure comfort food at its best. Whether enjoyed at a bustling breakfast joint or homemade on a lazy Sunday morning, Masala Dosa is a dish that brings both flavor and nostalgia to the table.
And here’s the best part — you don’t have to be a pro chef to make it! With the right ingredients and techniques, you can easily prepare restaurant-style Masala Dosa at home. In this 5-step guide, we’ll walk you through everything from making the batter and cooking the dosa to preparing that delicious potato filling that defines this classic.
Step 1: Gather the Ingredients
Before you start cooking, assemble all your ingredients. Masala Dosa has two main parts — the dosa batter and the potato masala filling — along with optional sides like chutney and sambar.

For Dosa Batter:
- 2 cups parboiled rice (idli rice works best)
- ½ cup urad dal (split black gram)
- 2 tablespoons chana dal (optional, for crispiness)
- 1 teaspoon methi (fenugreek) seeds
- Salt to taste
- Water (as needed)
- Oil or ghee for cooking
For Potato Masala Filling:
- 4 medium potatoes, boiled and peeled
- 1 tablespoon oil or ghee
- 1 teaspoon mustard seeds
- 1 teaspoon urad dal
- 1 teaspoon chana dal
- 8–10 curry leaves
- 2 green chilies, slit or chopped
- 1 medium onion, thinly sliced
- ½ teaspoon turmeric powder
- Salt to taste
- ¼ cup water (to adjust consistency)
- 1 tablespoon lemon juice
- 2 tablespoons chopped coriander leaves
Optional Sides:
- Coconut chutney
- Tomato chutney
- Sambar
Step 2: Prepare the Perfect Dosa Batter
A good dosa begins with a perfectly fermented batter — airy, slightly tangy, and smooth.
1. Soaking:
- In a bowl, combine rice, chana dal, and methi seeds.
- In another bowl, add urad dal.
- Rinse both mixtures well and soak them in water for at least 6 hours (or overnight).
2. Grinding:
- Drain the soaked urad dal and grind it into a smooth, fluffy batter using a wet grinder or blender. Add a little water as needed.
- Next, grind the rice mixture into a slightly coarse paste.
- Combine both batters in a large bowl, mix well, and add a little salt.
3. Fermentation:
- Cover the bowl and let it ferment overnight (8–10 hours) in a warm place.
- The batter should double in volume and have small air bubbles.
Pro Tips:
- If the weather is cool, place the batter in a pre-warmed oven (turned off) or near a warm stove.
- Fermentation is key — it gives the dosa its signature flavor and light texture.
Step 3: Make the Potato Masala Filling

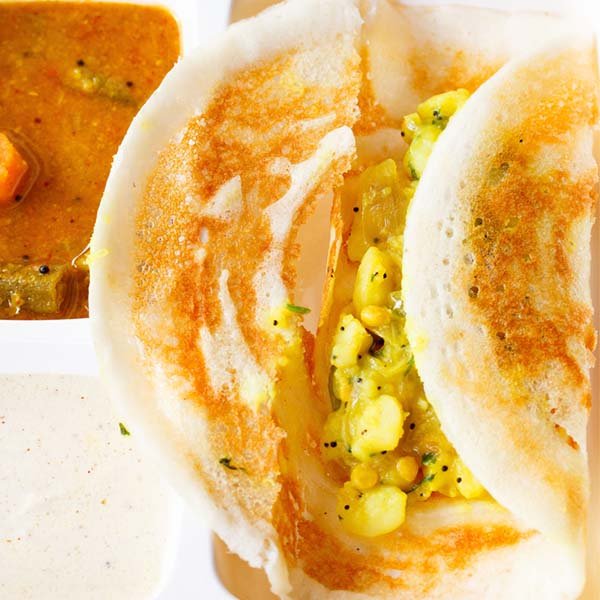
The potato filling, or “Aloo Bhaji,” gives Masala Dosa its heart and warmth. Soft, mildly spiced, and infused with the aroma of curry leaves and mustard seeds, it perfectly complements the crispy dosa.

1. Prepare the Tempering:
- Heat oil or ghee in a pan.
- Add mustard seeds and let them splutter.
- Then add urad dal, chana dal, curry leaves, and green chilies. Sauté until the dals turn golden.
2. Add Aromatics:
- Add sliced onions and cook until soft and translucent.
- Sprinkle in turmeric powder and mix well.
3. Add Potatoes:
- Mash the boiled potatoes coarsely and add them to the pan.
- Add salt and a splash of water to bring the mixture together.
- Stir and cook for 2–3 minutes until everything is well combined.
4. Finish with Freshness:
- Add lemon juice and chopped coriander. Mix well and turn off the heat.
Your golden-yellow potato filling is now ready — soft, fragrant, and lightly spiced.
Pro Tip:
Don’t make the filling too dry — a slightly moist texture helps it spread easily inside the dosa.
Step 4: Cook the Perfect Crispy Dosa
Now comes the most satisfying part — cooking that crisp, golden dosa!

1. Prepare the Pan:
- Use a cast iron tawa or nonstick griddle.
- Heat it on medium flame until it’s hot but not smoking.
- Sprinkle a few drops of water — if they sizzle and evaporate quickly, it’s ready.
- Wipe the surface lightly with a halved onion dipped in oil to create a nonstick base.
2. Spread the Batter:
- Pour a ladleful of batter into the center of the tawa.
- Using the back of the ladle, spread it outward in circular motions to form a thin, even circle.
- Drizzle a few drops of oil or ghee around the edges.
3. Cook Until Crisp:
- Let it cook on medium heat until the edges start to lift and the bottom turns golden brown.
- For extra crispiness, drizzle a few more drops of ghee on top.
4. Add the Filling:
- Once the dosa is crisp, place 2 tablespoons of the potato masala in the center.
- Fold the dosa in half or roll it up gently.
Pro Tip:
Don’t flip the dosa — authentic masala dosas are cooked on one side only.
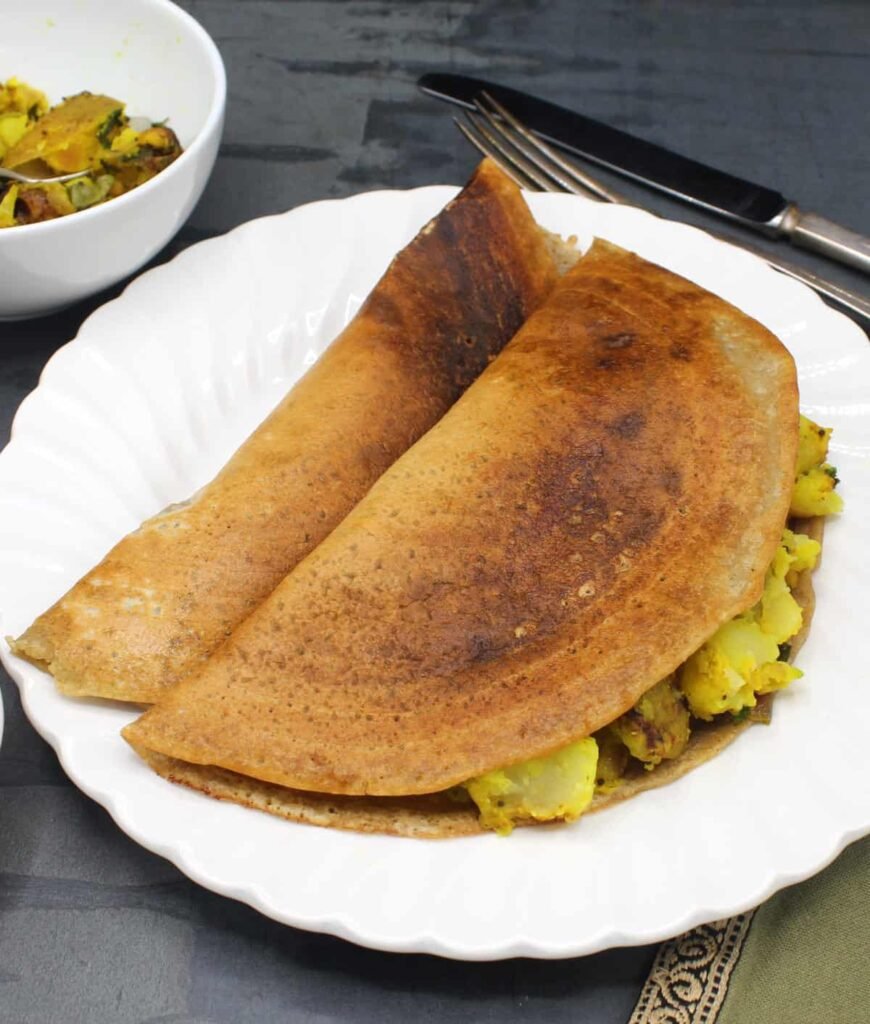
Step 5: Serve Hot with Chutney and Sambar
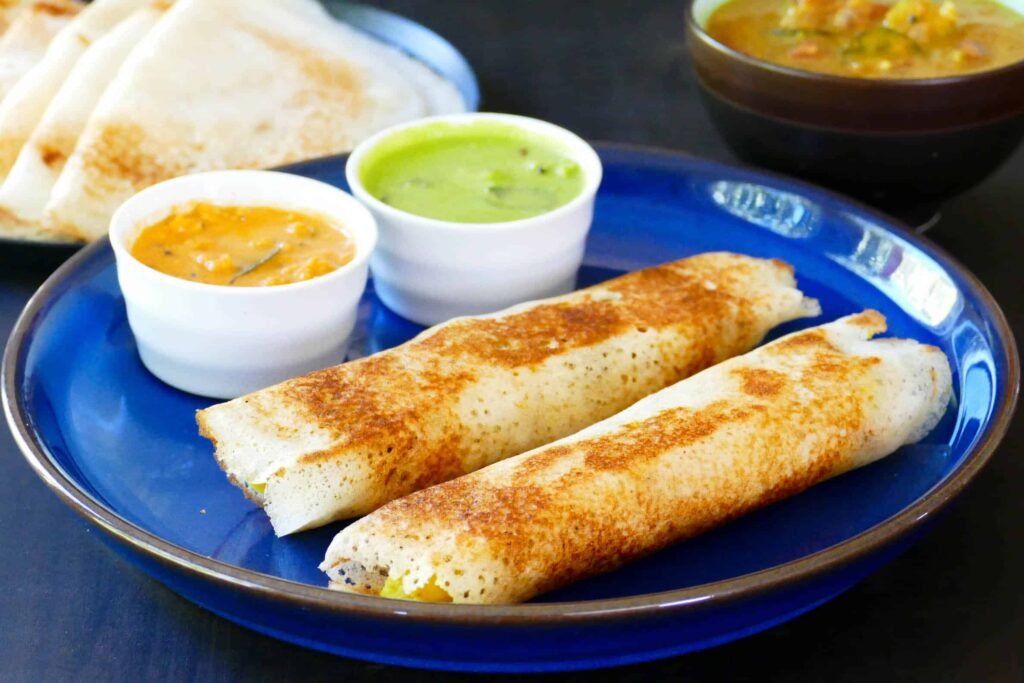
Your beautifully crisp Masala Dosa with Potato Filling is now ready to serve!
Plate it hot and golden, with sides of coconut chutney, tomato chutney, and a bowl of steaming sambar. You can also sprinkle a little ghee on top for that irresistible South Indian touch.

Serving Ideas:
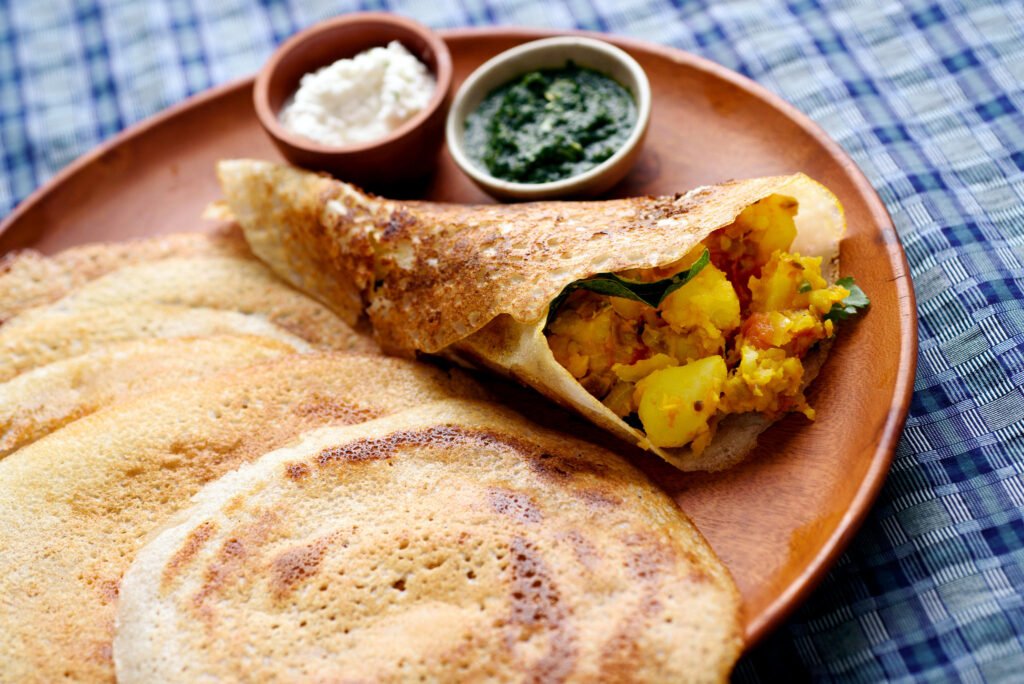
- For a restaurant-style look, serve the dosa folded in a triangle with a dollop of masala peeking out.
- Garnish with fresh coriander and a few curry leaves on the plate.
- Add a side of spicy chutney powder (podi) mixed with oil for extra zing.
Pro Tip:
Masala Dosa tastes best when eaten immediately after cooking — once it cools, it loses its crispiness.
Extra Tips for Perfect Masala Dosa
- Batter Consistency:
The batter should be slightly thick yet pourable. Too thin, and your dosa won’t crisp properly. - Fermentation Time:
In colder climates, ferment for up to 12 hours. You can also add a pinch of sugar to help the process. - Nonstick Hack:
Wipe your tawa with an oiled onion before each dosa — it prevents sticking and adds flavor. - Ghee for Extra Crispiness:
While oil works fine, ghee gives your dosa a golden hue and that irresistible aroma. - Batch Cooking:
Keep the potato masala warm while you make dosas one by one — this way, each dosa stays fresh and hot.
Variations to Try
Once you’ve mastered the classic Masala Dosa, you can experiment with delicious variations:
- Mysore Masala Dosa:
Spread a layer of spicy red chutney on the dosa before adding the potato filling. - Cheese Masala Dosa:
Sprinkle grated cheese over the filling for a gooey, fusion-style twist. - Rava Masala Dosa:
Make the batter using semolina (rava) instead of rice for a quick, crispy version. - Paneer Masala Dosa:
Add crumbled paneer to the potato filling for extra protein and richness. - Mini Masala Dosas:
Make smaller dosas for kids or party appetizers — easy to eat and fun to serve!
Common Mistakes to Avoid
- Under-fermented batter: Leads to soft or rubbery dosas. Always ensure the batter has risen and smells slightly sour.
- Cold pan: Batter won’t spread evenly. Always preheat your tawa.
- Too much oil: Makes the dosa greasy instead of crisp. Just a few drops are enough.
- Thick batter layer: Spread thinly for that restaurant-style crispness.
- Skipping resting time: Both the batter and the potato filling benefit from short resting — it helps flavors develop.
Final Thoughts
A perfectly made Masala Dosa is a masterpiece of flavor and texture — crisp on the outside, soft inside, and filled with spiced, comforting potatoes. With this 5-step guide, you can recreate that authentic South Indian experience right in your kitchen.

From fermenting the batter and cooking the dosa to preparing the aromatic potato filling, every step brings you closer to that first delicious bite — warm, crisp, and bursting with flavor.
So, grab your tawa, get your batter ready, and treat yourself (and your family) to a homemade Masala Dosa breakfast that’s every bit as good as the one from your favorite South Indian restaurant. One bite, and you’ll know why it’s a timeless classic loved across the world!